

So, what’s a determined bird-lover to do when a zillion store options for bird fountains yield absolutely zero winners? You take matters into your own hands! Or, more accurately, you eye your husband’s impressive skillset and massive array of power tools, and gladly upgrade the project into a glorious “make-it-yourself” honey-do!
For years, a little repurposed tabletop fountain sat on our feeding platform. The gurgling water and rippling reflections did a fabulous job of attracting the birds for my photography. (Check out AzarElGreetings.com!) When the fountain broke and had to be pitched last year, I deeply missed the sound of running water. Finding a new one, however, quickly turned into a classic Goldilocks adventure. It was too tall, too small, or too expensive, and on, and on, and on!
If you are tired of searching for a ready-made option that just doesn’t exist, this post is for you. Below, I’m sharing the exact instructions on the nuts and bolts of how to build your own beautiful, tiered fountain from glazed ceramic planters! The one we made cost around $120; you can do even better by thrifting and using what you already have on hand!
Before we could start building, we had to go on a treasure hunt for the perfect components.

The Style Selection (My domain)
On Monday, Brian and I shopped local. We hit up a pond supply store, a few garden centers, and an antique shop. We found some absolutely wonderful pieces! By the way, there are different materials you could choose for your fountain at the very end in our Materials Reference Table.
Here is our biggest tip: buy your bottom reservoir pot first. Everything else you choose needs to fit nicely inside it. We found our absolute perfect match at Clear Water Ponds and Aquatics. It’s a glazed ceramic pot—a material that is easy to clean and comes in gorgeous colors. This one is a stunning reddish-brown on the outside with a bright, vibrant turquoise inside. We chose a wide, squat shape—15” wide and 6” deep. This size would completely hide our water pump. We also picked up a medium and a small plant saucer for the two elevated tiers. Black Creek Greenhouse had these!
For the internal base, we flipped a lattice flowerpot upside down. It is wide enough to stay stable and tall enough to clear the pump. Even better, the open design lets water flow completely free inside the reservoir. (Esbenshade’s Garden Center has a wonderful selection of pretty planters.) Finally, we visited Gypsy Moon (a new antique store in Adamstown) and scored a lovely vase. The fern pattern makes it a very special spacer between the first and second saucers.
The Nuts and Bolts (Brian’s Domain)
Next up were the practical buys, which were totally Brian’s domain. First up: you absolutely must use a drill bit specifically designed for glass or tile! He snagged a ½” bit for $12 at Lowe’s. The ½” diameter gives plenty of wiggle room to easily thread the ½” vinyl tubing.
He also picked up a tube of Gorilla Clear Max Strength Construction Adhesive. This stuff is 100% waterproof. It holds up perfectly underwater and handles fluctuating outdoor temperatures like a champ. Just a heads up: do not confuse this with regular Clear Gorilla Glue. That one won’t work here! Thankfully, the caulking gun and drill were already waiting for us in Brian’s legendary “Tools of a Lifetime” collection.
Picking the Perfect Pump
For our project, we reused the pump from our old bird bath (may it rest in peace!). Since we live out in the woods, a solar pump wasn’t an option for us. If you are buying a new one, look for a small fountain pump rated between 40 and 120 gallons per hour. You want to keep the water movement relatively calm. Birds prefer a gentle ripple over a rushing torrent!
When shopping, look for two crucial safety features. First, make sure it has an auto-shutoff. This keeps the motor from burning out if the water runs dry. Second, choose a pump with an easily accessible, removable pre-filter foam or cage. Trust us, you want cleaning to be simple and quick! There’s a handy checklist of supplies at the end under Reference Tables.
Brian started by drilling holes in all the ceramic pieces. First, peel off any felt “footies” from the bottom. Take your time to find the exact center. Drill briefly, then wet the hole with water. Heat will dull your drill bit fast! Also, be prepared for some dramatic “smoke” while you drill. Brian says it is either evaporating water or ceramic dust.
Once the holes were ready, it was time to glue the layers together. Brian started with the base. Next, he placed the widest water saucer right on top of it. He slid a Sharpie pen through the holes to keep them perfectly aligned.
Before gluing, check to make sure everything is absolutely level. If it isn’t, the water will only spill over the lowest side! Brian “shimmed” our piece to a perfect level using small, leftover scraps of paper.
Now, just repeat the gluing, centering, and leveling steps for the vase and the second water saucer. Double-check that every single section stays level as you go!
Let the glue dry completely for 24 hours. After it cured, Brian pulled out the paper shims. He then added a fresh dab of glue to fill in those tiny gaps.
After the glue dried, he ran the plumbing. A wire coat hanger was used to pull the ¼” hose from the very bottom to the top. He secured it neatly at the peak with a handy 3D-printed gizmo.
One last tip: Sometimes water will roll over the edge of a plate and hug the underside of the ceramic. If that happens, just rub a little Vaseline under the lip of the tier. When the water hits the Vaseline, it will drip straight down to the next tier.
Seeing our creativity come to life for the first time made us absolutely giddy with excitement! Our feeding platform finally has its running water back, and it is better than ever! Taking matters into our own hands was definitely the right choice. It saved us from the endless search for a ready-made option that just didn’t exist.
Just think of all the creative ways you could interpret this plan! If you love a rustic, storybook, or farmhouse look, you don’t have to stick to traditional garden pottery. You can scout local markets for vintage pieces that fit similar dimensions!
Whatever you choose to do, the birds will thank you!


Original Photography
Click here to see how our canvas prints are made.

Giclée Canvas print, 16” x 24”
Original Photography, printed and hand stretched by AzarÉl Greetings.
Click here to see how our canvas prints are made.
| 1000 Left in Stock | ||

Giclée Canvas print, 20” x 30"
Original Photography, printed and hand stretched by AzarÉl Greetings.
Click here to see how our canvas prints are made.
| 1000 Left in Stock | ||
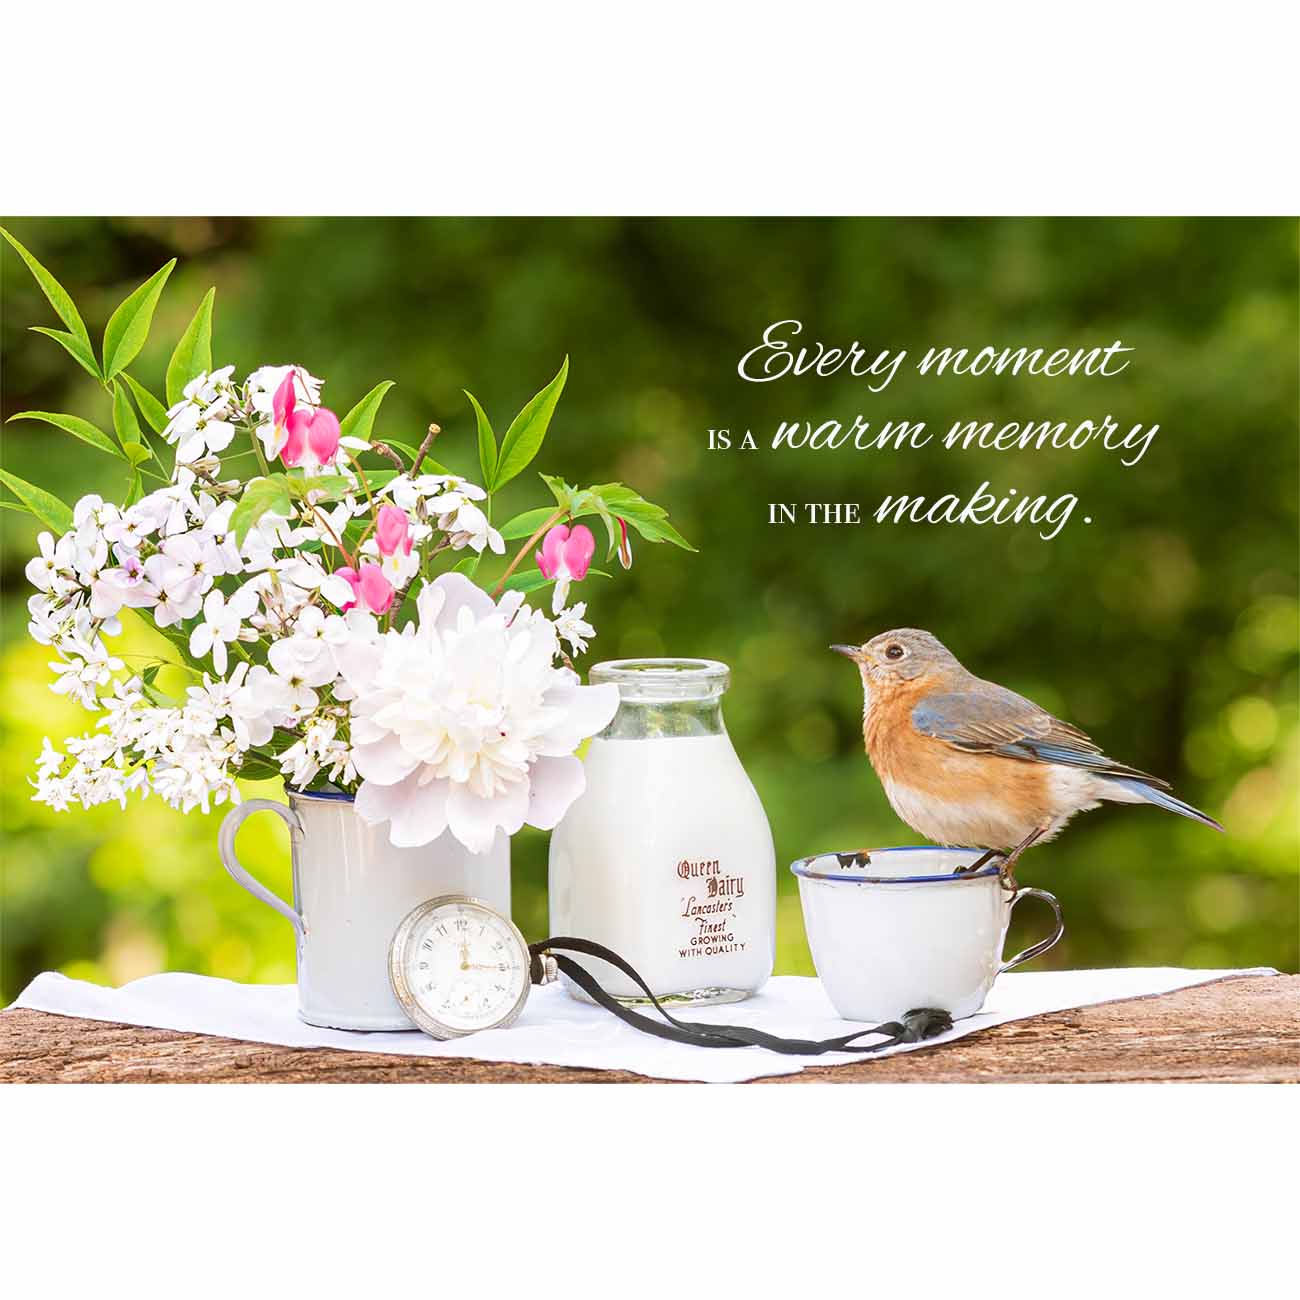
Giclée Canvas print, 16” x 24”
Original Photography, printed and hand stretched by AzarÉl Greetings.
Click here to see how our canvas prints are made.
| 3000 Left in Stock | ||

Giclée Canvas print, 20” x 30”
Original Photography, printed and hand stretched by AzarÉl Greetings.
Click here to see how our canvas prints are made.
| 1000 Left in Stock | ||
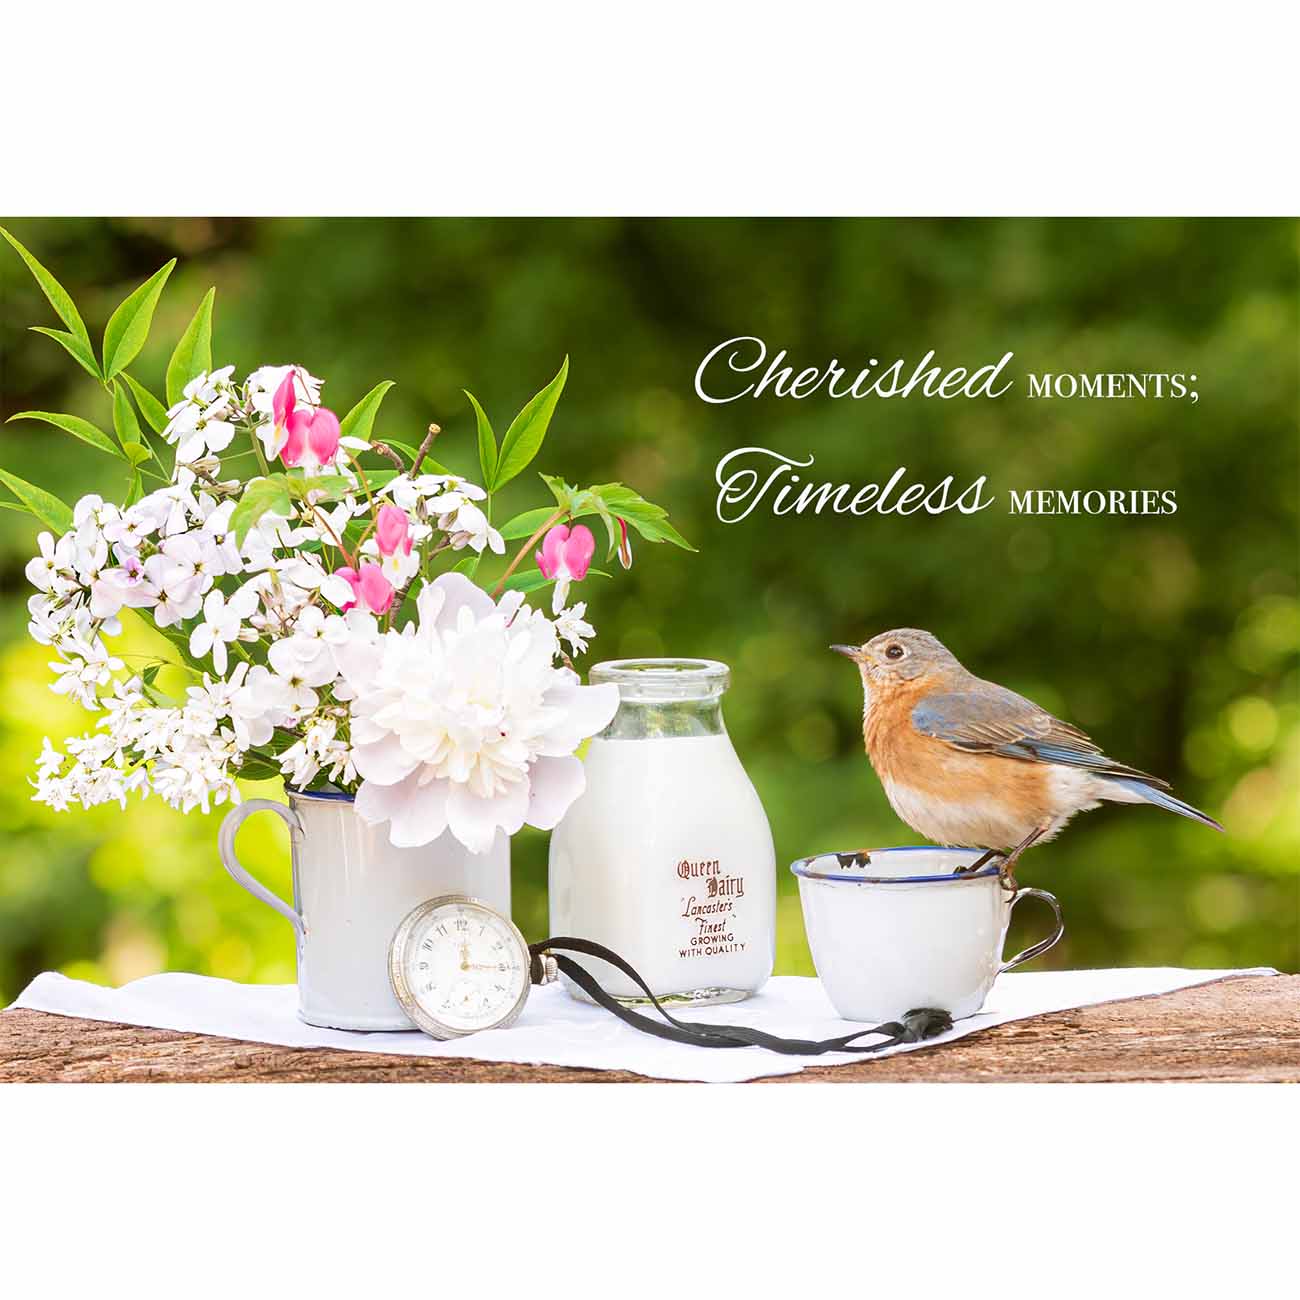
Giclée Canvas print, 16” x 24”
Original Photography, printed and hand stretched by AzarÉl Greetings.
Click here to see how our canvas prints are made.
| 3000 Left in Stock | ||

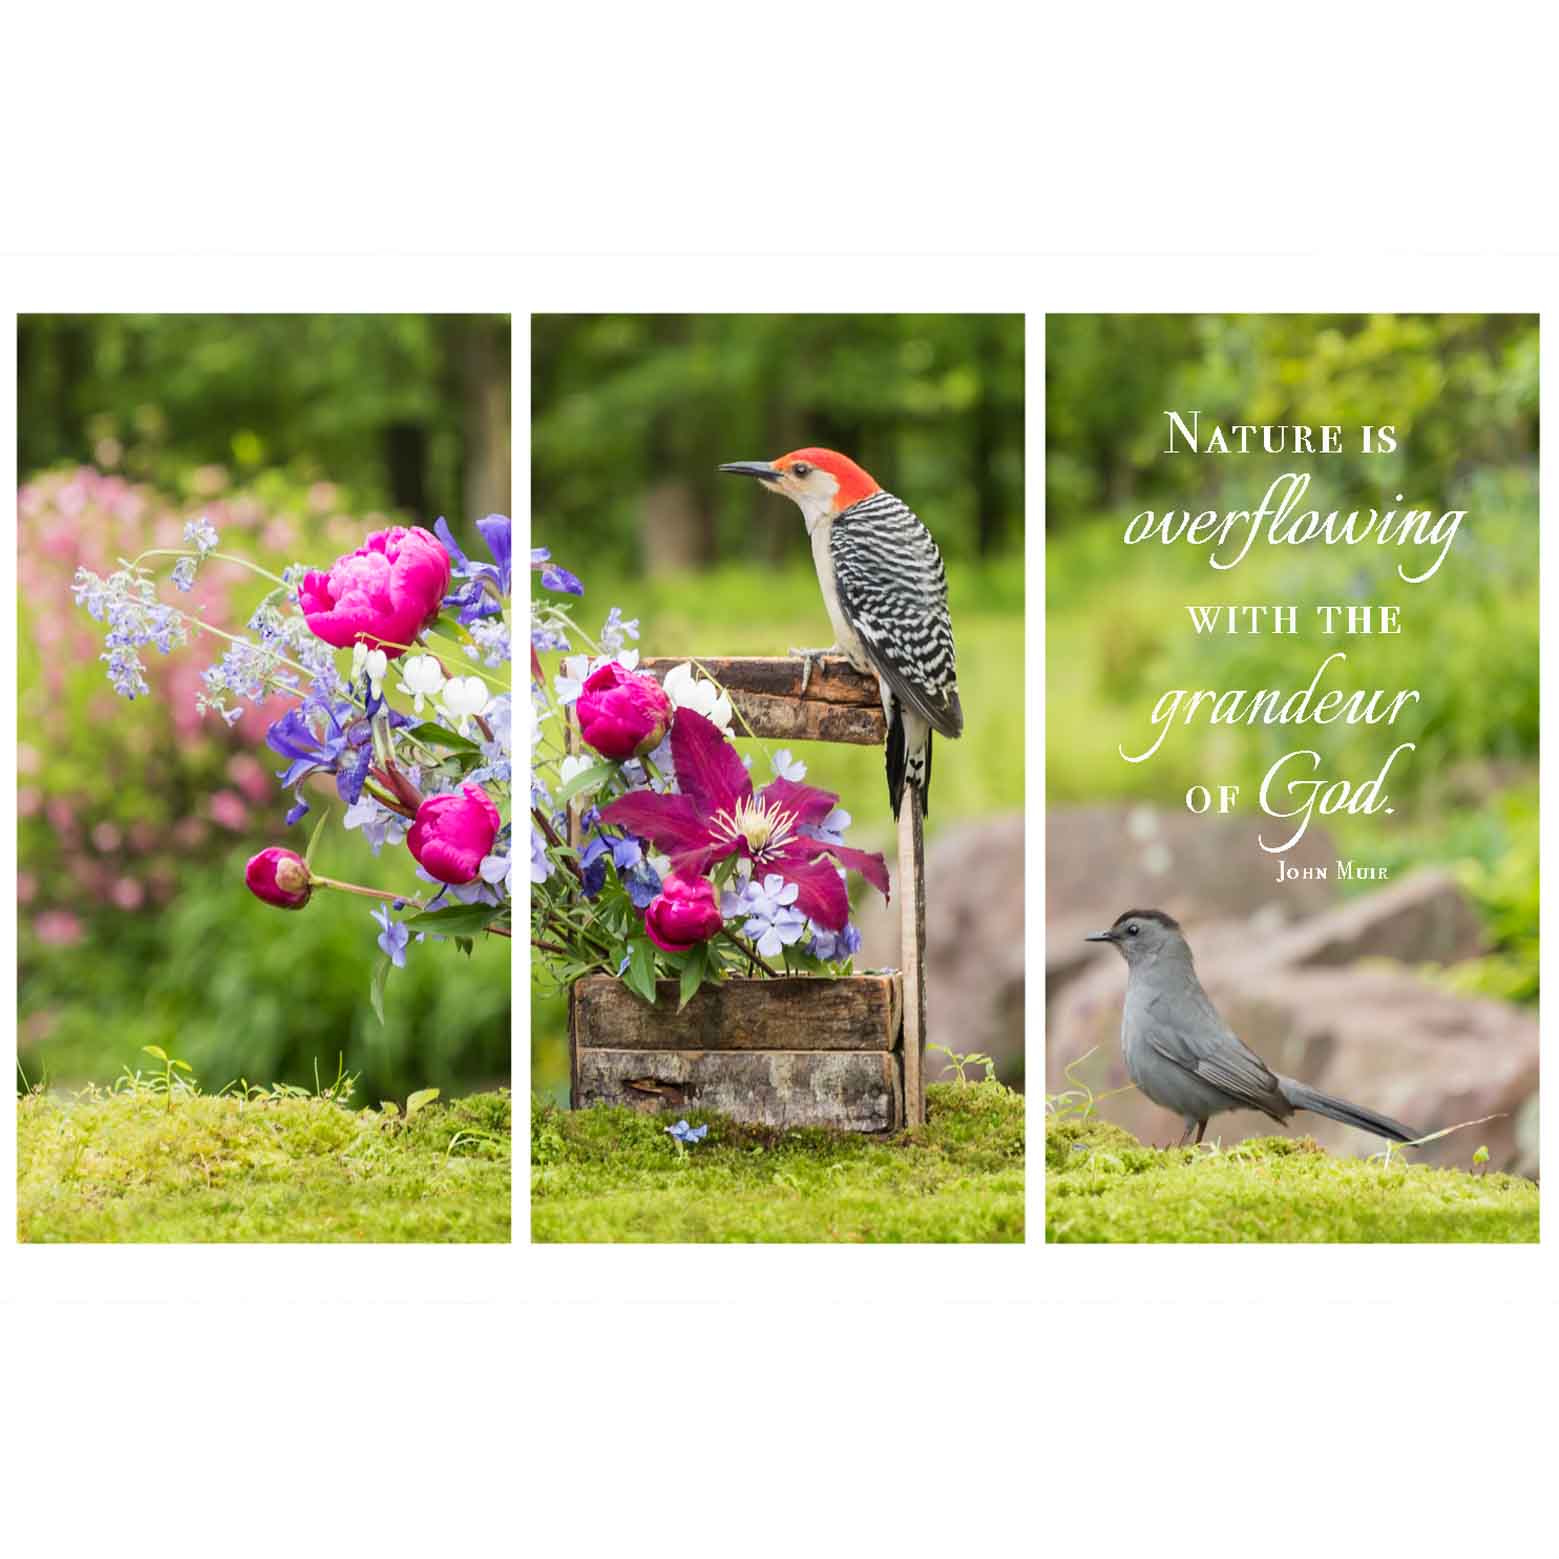
Giclée Canvas print, three panel triptych, 20" x 33" (w/ 3/4" gaps)
Original Photography, printed and hand stretched by AzarÉl Greetings.
| 3000 Left in Stock | ||


Giclée Canvas print, 16” x 24”
Original Photography, printed and hand stretched by AzarÉl Greetings.
Click here to see how our canvas prints are made.
| 3000 Left in Stock | ||

Giclée Canvas print, 16” x 24”
Original Photography, printed and hand stretched by AzarÉl Greetings.
Click here to see how our canvas prints are made.
| 1000 Left in Stock | ||
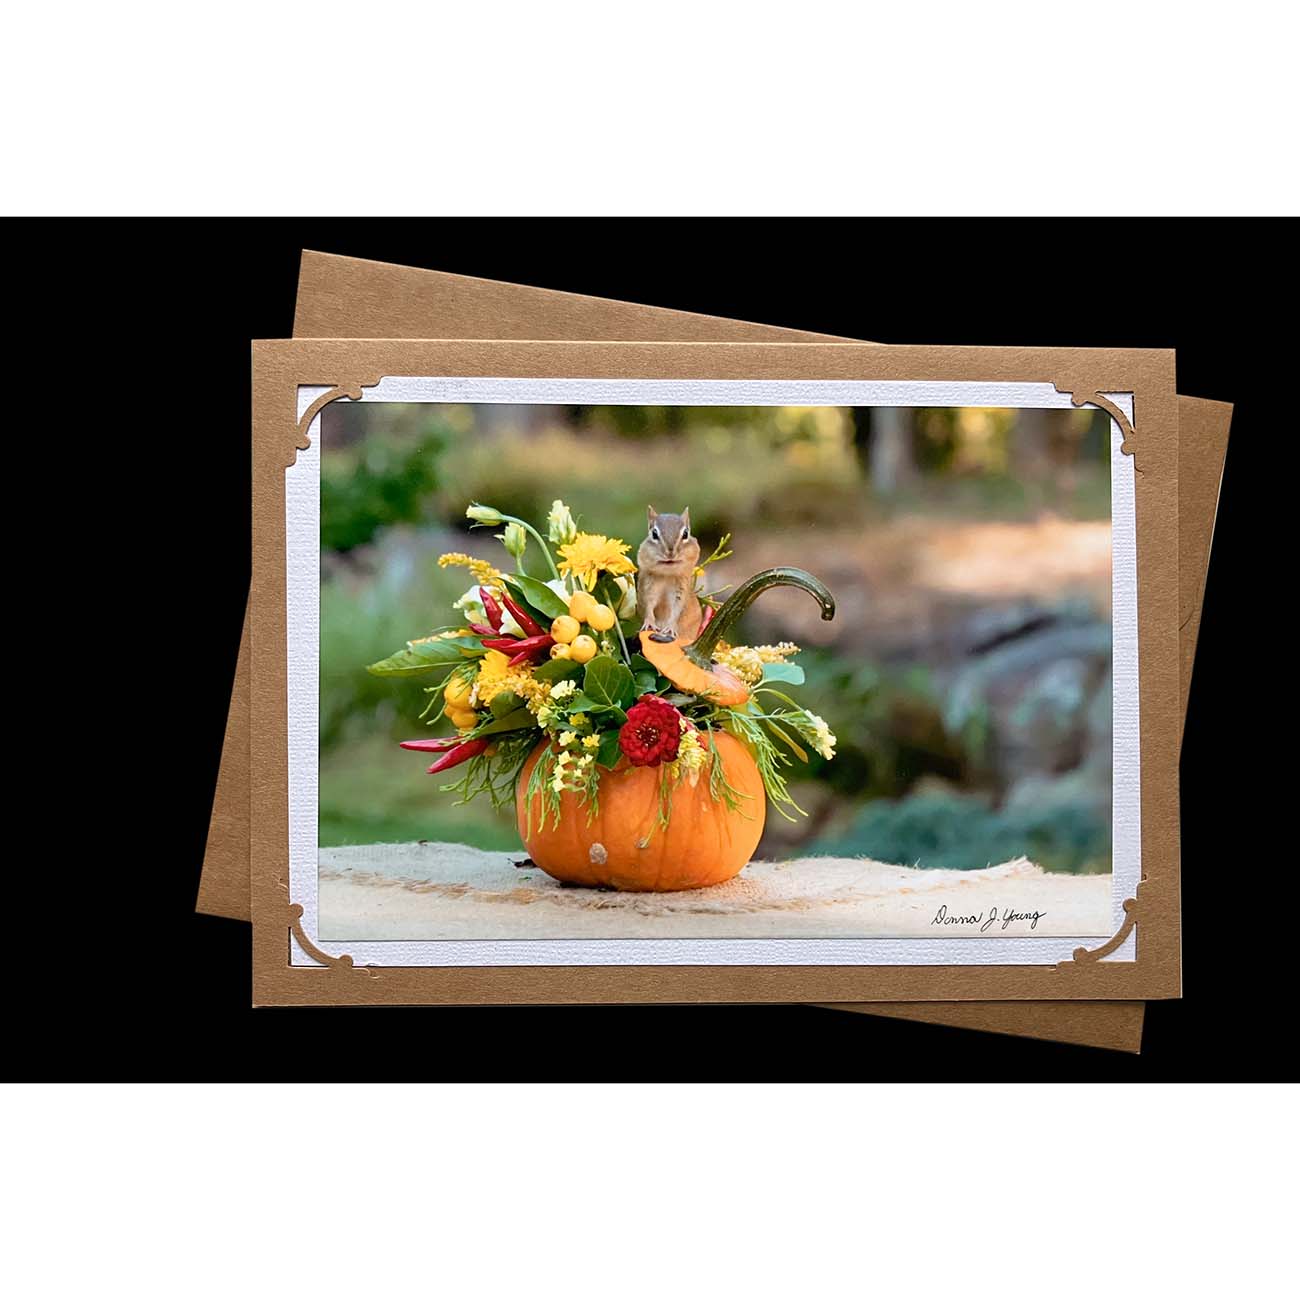
Original Photography
| 999 Left in Stock | ||
Giclée Canvas print, 20” x 30”
Original Photography, printed and hand stretched by AzarÉl Greetings.
Click here to see how our canvas prints are made.
| 1000 Left in Stock | ||

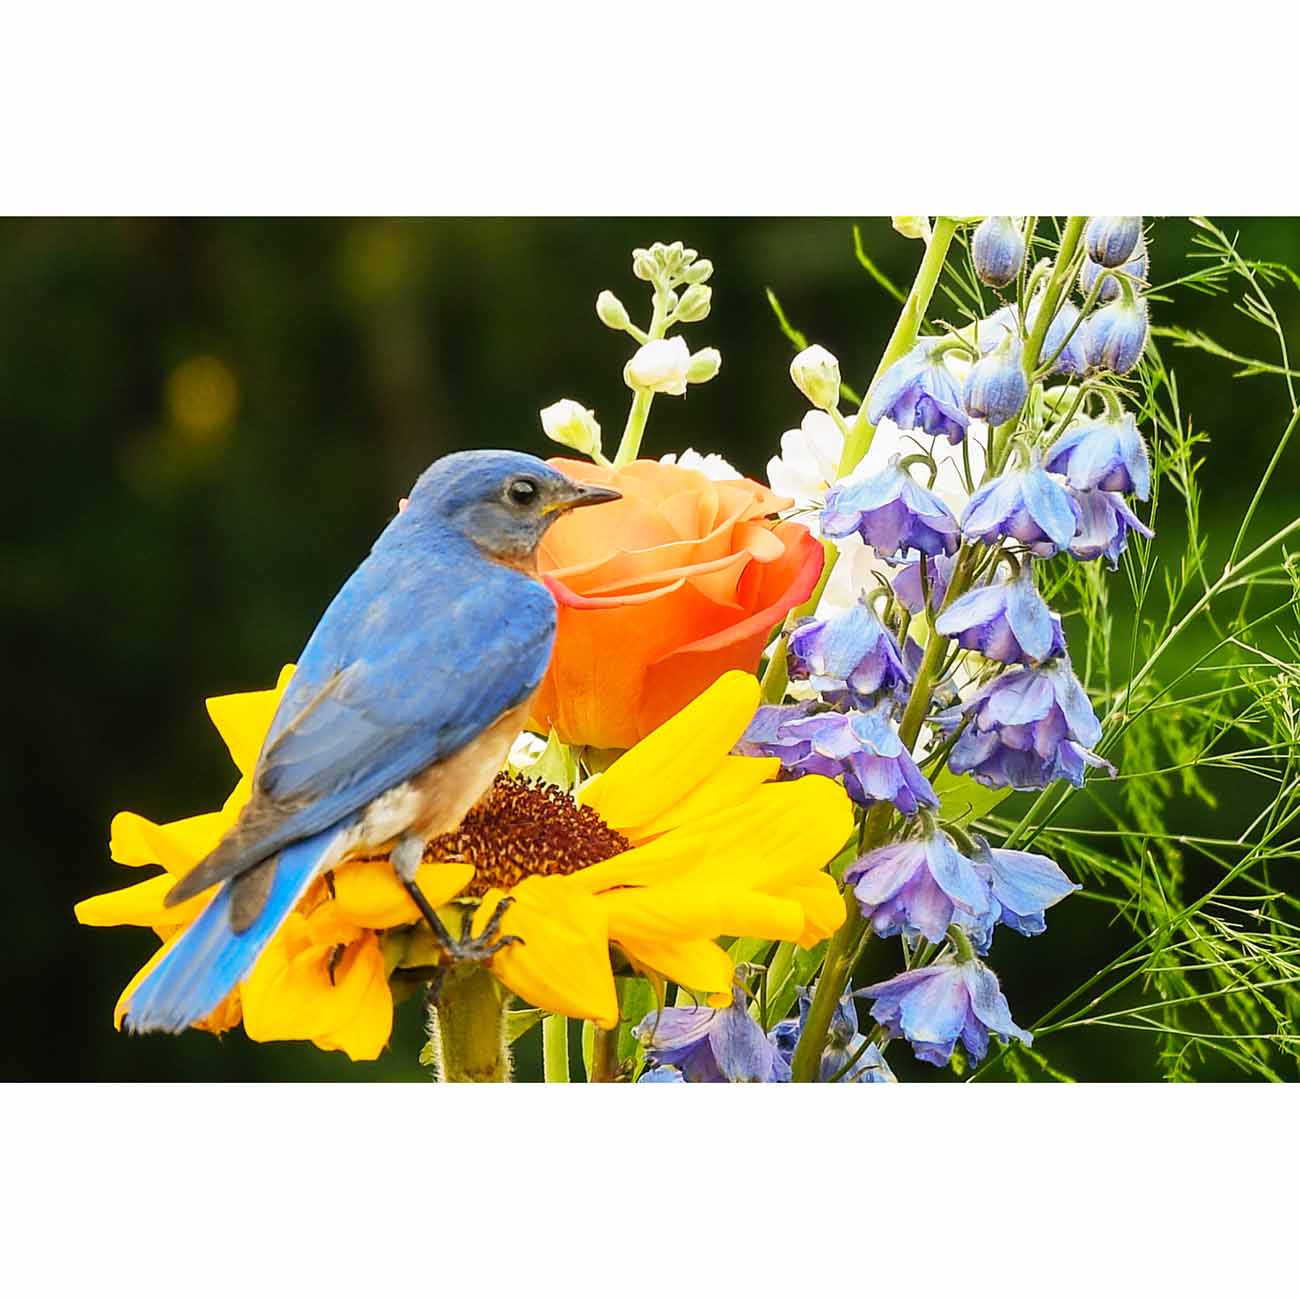
Giclée Canvas print, 20” x 30”
Original Photography, printed and hand stretched by AzarÉl Greetings.
Click here to see how our canvas prints are made.
| 3000 Left in Stock | ||
