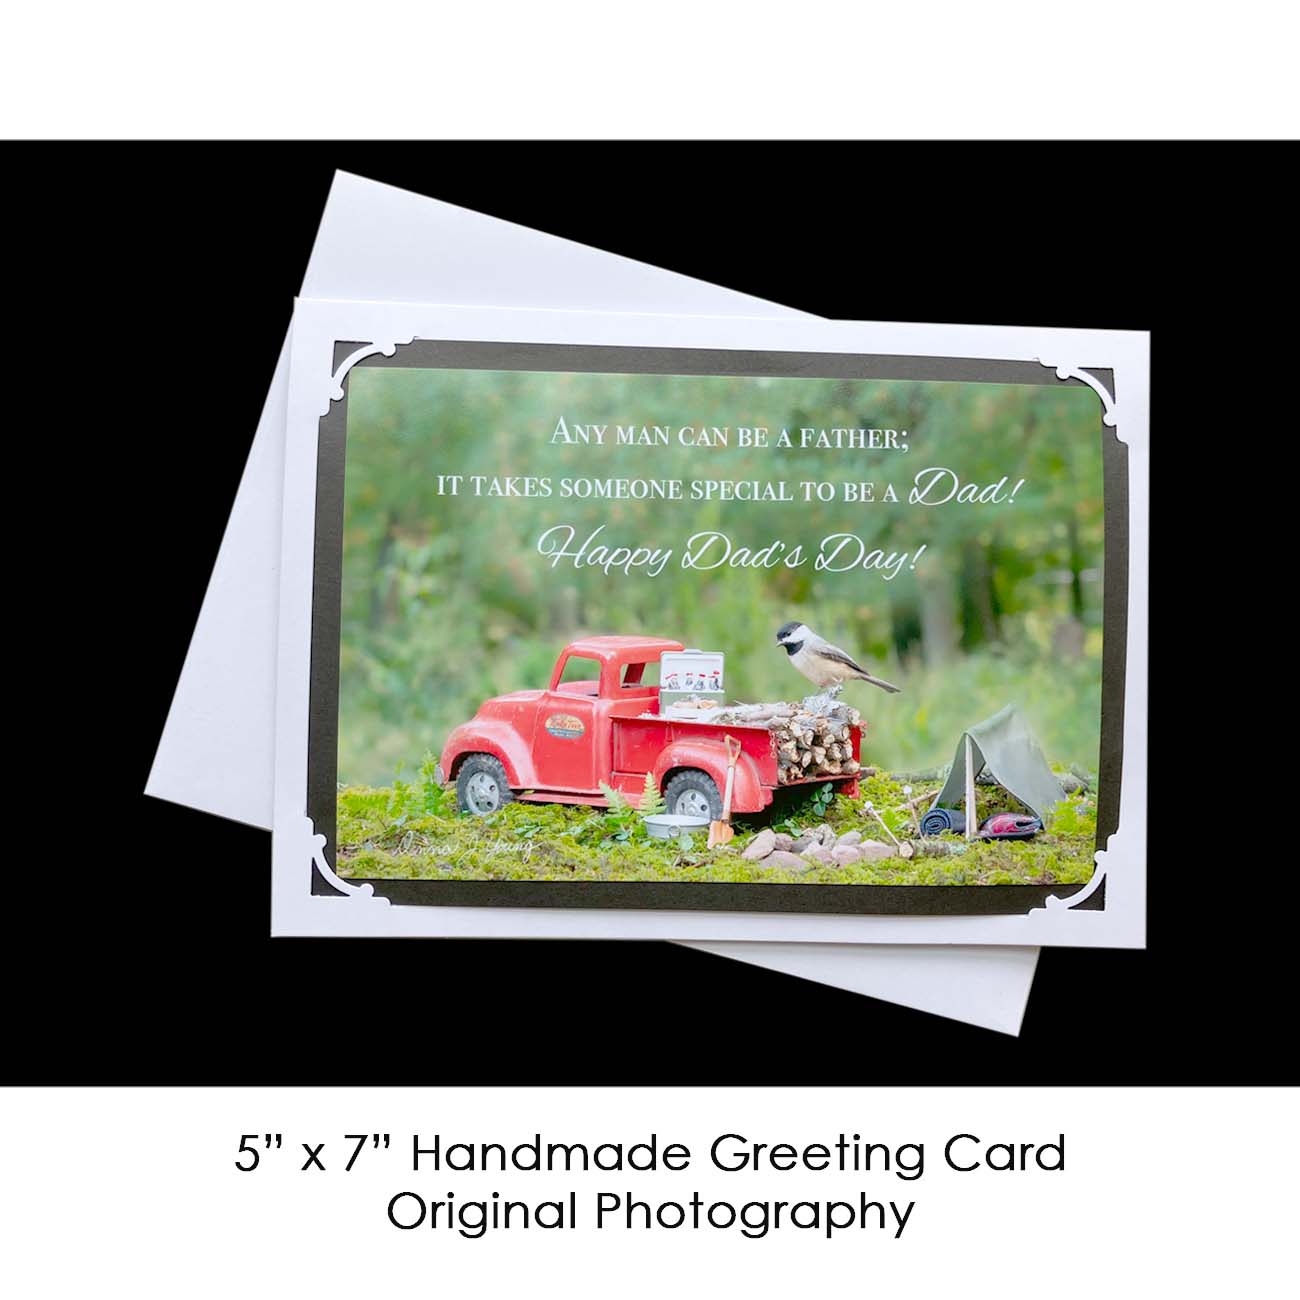
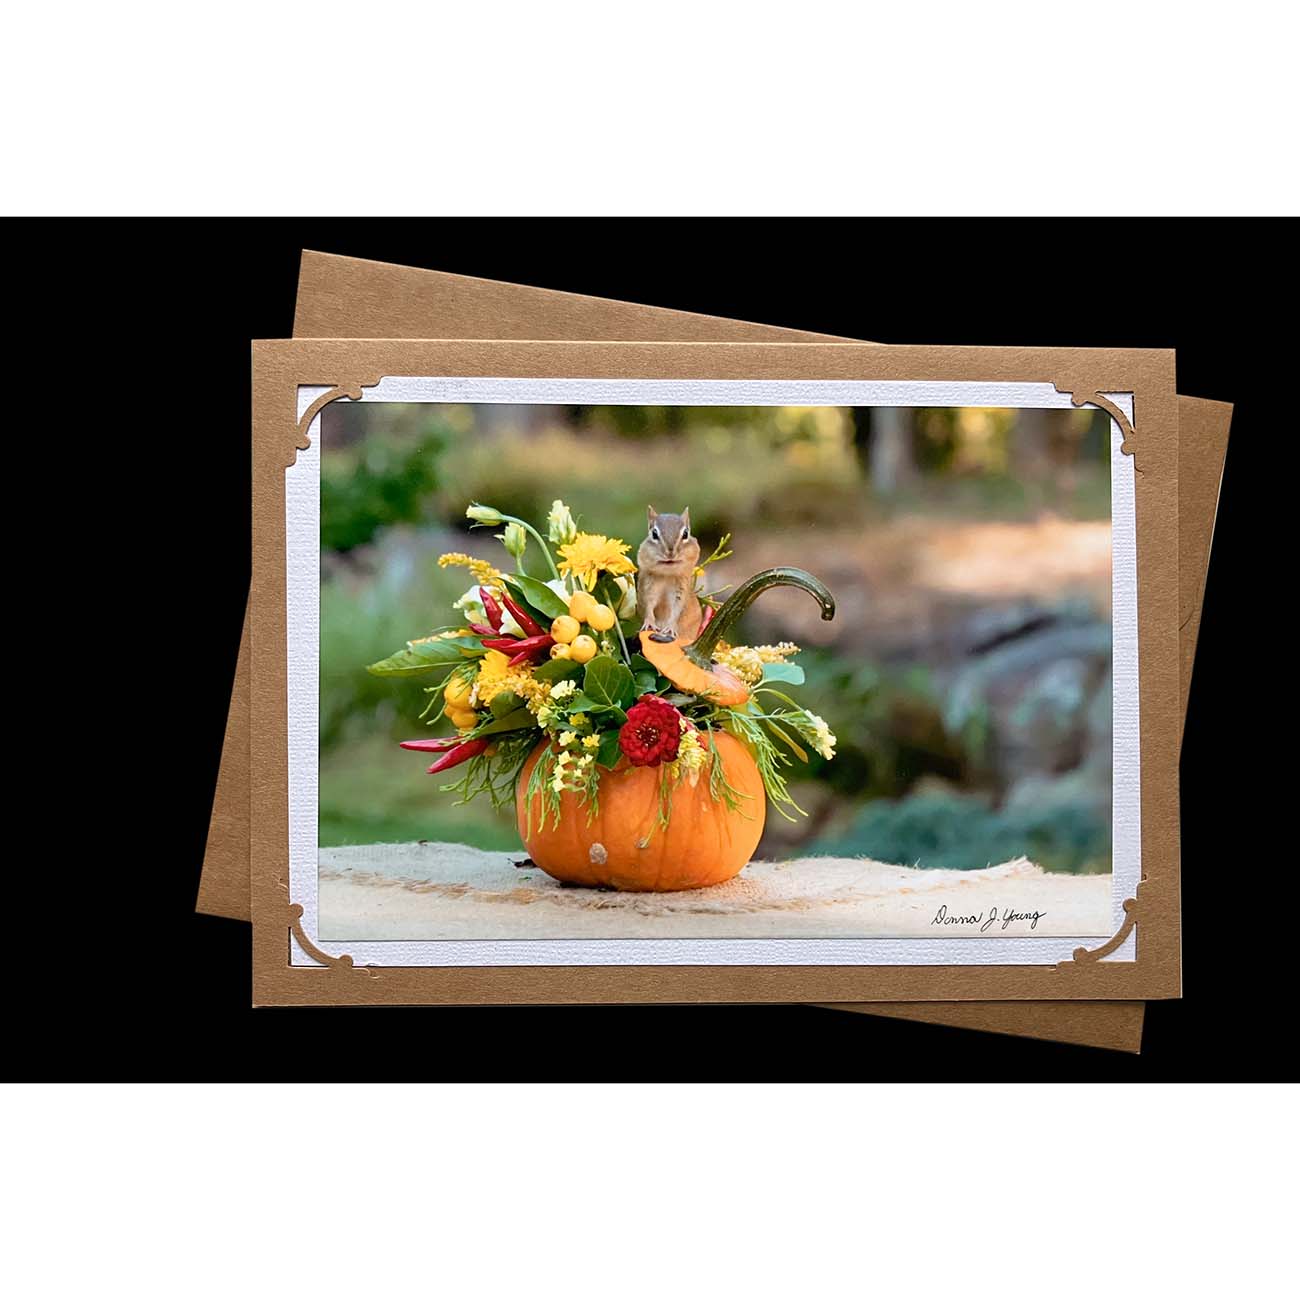
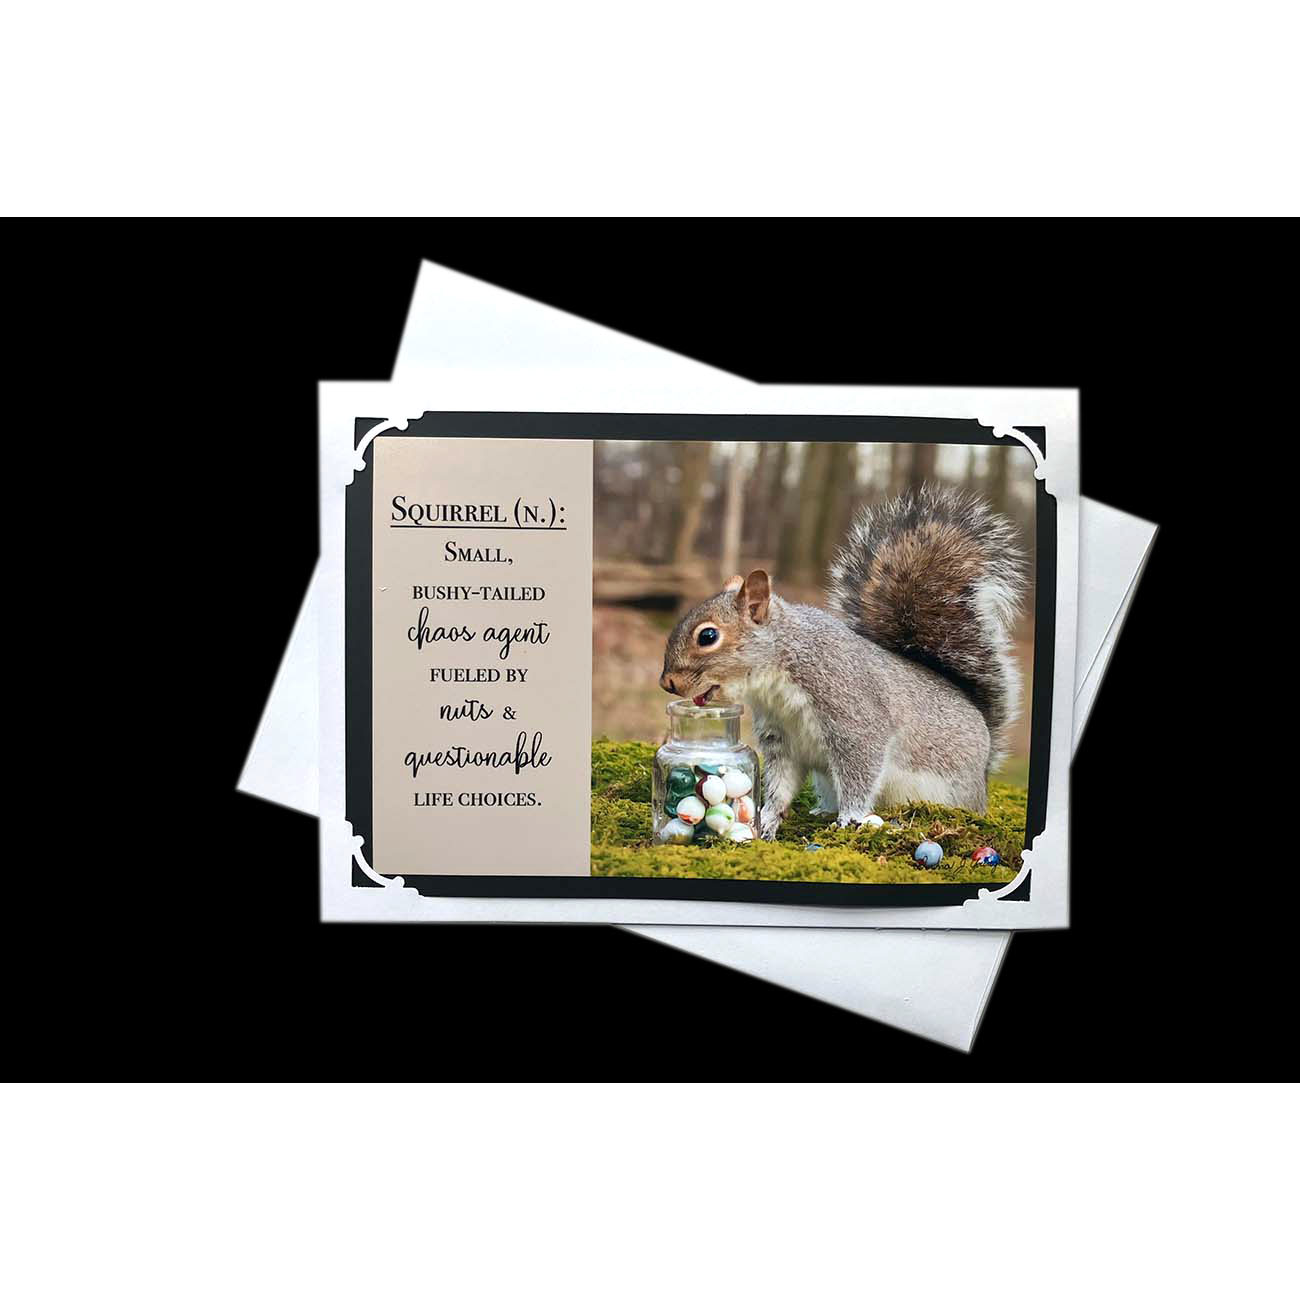
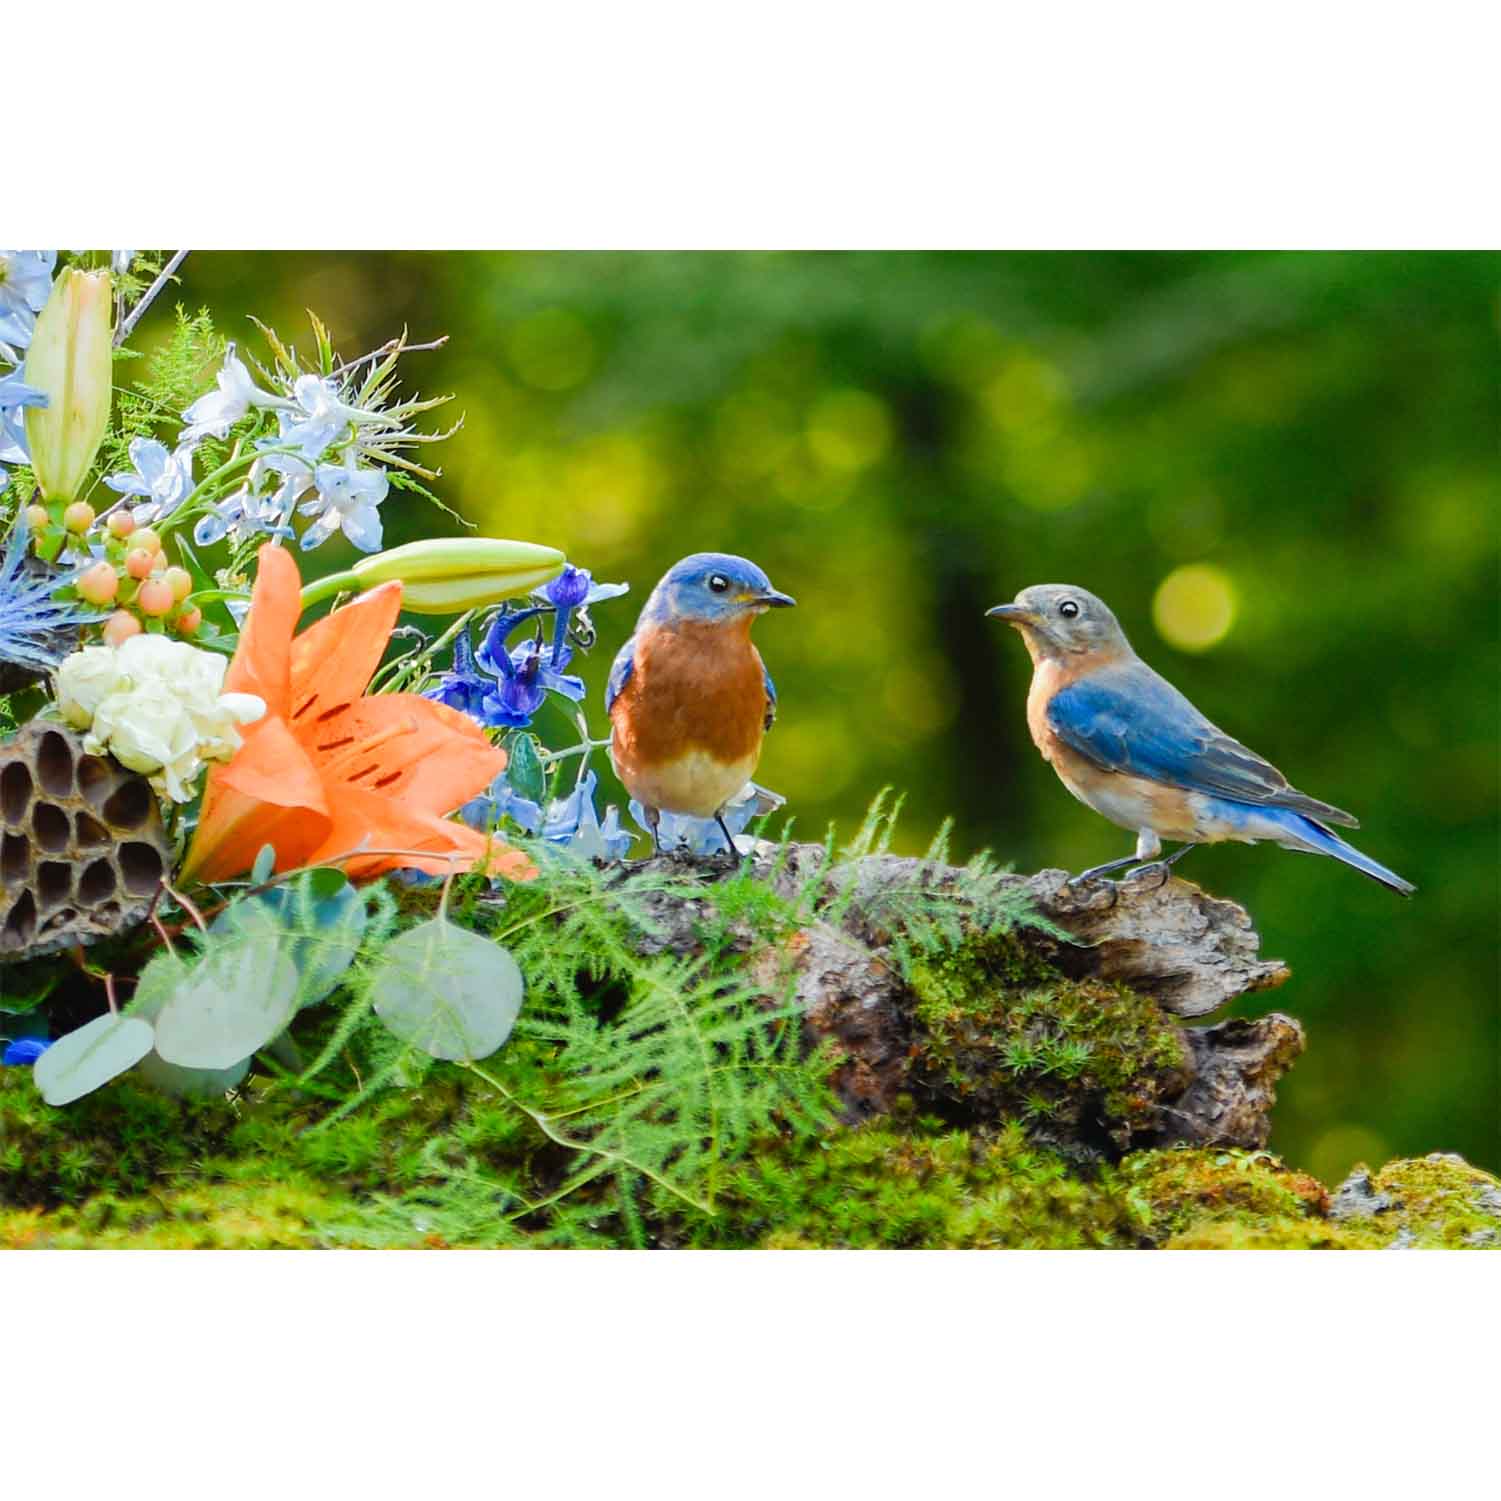
A scene like this may appear to be on the edge of reality until you know one of AzarÉl Greetings’ simple secrets: a feeding platform. When I talk with people at our vendor booth, I often mention this platform—it is truly essential to my photography style. If you have ever wondered exactly what it is and how it’s made, today is your day!
On “normal” days, this platform is a feeding smorgasbord of sunflower seeds, cracked corn, peanuts, and suet. At the right it’s pictured with my new fountain, a few plants, and the bird food. On photography days, I transform that 730 square inches of “real estate” into a “high-end dining scene.” By hiding snacks within the scene, I capture candid shots as the birds and critters play hide-and-seek with their treats. In case you’re wondering, there was food behind the compass in the photo above. ;-)
Why Use a Platform?
Even if you aren’t a photographer, a platform beats a standard feeder or tube feeder:
Unobstructed Views: Enjoy an open, clear look at birds as they eat, without the visual clutter of plastic or wire mesh.
Versatile Menu: You can easily serve a wider variety of foods—like suet, fruit, mealworms, and large nuts—that don’t fit in traditional feeders.
Natural Comfort: The flat surface mimics nature, making birds feel more secure while lingering, so you can observe their unique personalities rather than just seeing them grab a seed and go.
The New Design
Our original platforms, made from salvaged lumber, eventually warped and deteriorated. To solve this, Brian designed an improved, weather-resistant version using composite decking. It’s a wonderful intermediate DIY project that takes about two hours to build using standard tools you likely already have at home. If you’re comfortable measuring, cutting, and drilling, you’ll have no trouble assembling this sturdy, long-lasting platform for your own yard.
Supplies
Composite Decking boards: 2 boards, 8′ long
2×4 boards: 4 boards, 4′ long
Wide painter’s tape: 1.5″
Screws: Decking screws (or construction screws)
Metal strip: Flat steel or flat aluminum, 1″ wide and 4″ long with a bend at 1″
Water Seal: (e.g., Thompson’s)
Tools
Square
Saw (Miter saw or circular saw)
Drill press
Drill
Long level or long straight edge
Wood clamps
Assembly Directions
To begin your 27.5″ feeding platform project, you will need to prepare your raw materials by cutting them to the specified length:
Measure and cut your decking boards into 5 individual pieces, each measuring 27.5 inches long.
Measure and cut your 2×4 boards into 4 individual pieces, each measuring 27.5 inches long.
Watch as Brian cuts the wood with a miter saw.
Just so you know where the project is going: When you have completed the assembly, the bottom of the feeding platform will look like this, with the 2×4 boards positioned to support the structure.
Positioning the Frame: Lay out the two outer 2×4 boards and place the 5 decking boards on top in their desired positions.
Securing the Boards: Clamp the end board to ensure it remains stationary before driving the screws.
Drilling: Since the underside of the decking boards is ridged, run screws through the thickest part of the board. Secure each board by driving two screws into each end.
Once all 5 deck boards are attached, it’s time to place the boards that “saddle” the deck railing.
Marking Layout:
Find the center of the platform and place a strip of painter’s tape, on which you draw the center line
Measure the width of your deck railing.
Add an extra 1/8” to the total gap between the boards to allow for expansion and contraction.
Place the two outside strips of painter’s tape and draw the board placement lines.
Mapping Screw Holes:
Use painter’s tape to create the same “tape stripes” on top of the feeding platform to serve as guides for screw placement.
Preparing for the Rail Lock Bracket:
Before nailing the two boards that saddle the deck rail in place, drill slots for the rail lock brackets. These are simple pieces of metal that secure the platform from a cat or raccoon tipping the platform. When in place, the metal piece tucks underneath the railing to hold the platform steady.
Sizing the Slots:
Make the slot in the wood slightly larger than the width of the metal retaining pin. In this version, the slot is 1.25″ long.
Using the taped lines as guides, place the boards that saddle the railing underneath the platform. Clamp them in place. Tack down both ends of the boards with screws.
Before screwing them in place, Brian recommends doing a “test fit” on your deck railing to make sure it fits properly.
Use a long level or straight edge to line up the screws. This ensures make sure the screws are going through the thickest part of the ridges on the decking. Place 2 screws per board as before.
Place 4 short support ribs to keep the platform from warping.
Use 2 coats of water seal to protect the 2×4’s.
The Finished Platform
Building a feeding platform is an invitation to bring the beauty of nature right to your deck. You’ll enjoy a better view of the local birds and critters. It’s such fun to watch the birds interact with things from your home. I hope this build brings as much joy to your backyard as it has to ours.
Any questions or concerns? Drop a comment on Facebook and share your ideas—I can’t wait to see what you come up with!
P.S. Brian’s smile definitely got a workout today! This project would have been much faster if I hadn’t kept hitting “pause” for photos and videos. He’s such a great guy!
Readers:28
Facebook
Twitter
LinkedIn
Email
Print
Donna Young
Donna's journey into photography began in 2015 when she retired from teaching. One day, on a whim, she placed a vintage Campbell’s soup mug filled with sunflower seeds on her deck railing. The birds visited. The photography began.