

Chipmunks are my absolute favorite critter to photograph! Besides the overstuffed cheeks, there’s the tail that sticks straight up in the air as they run. Those little black racing stripes are perfect too! Some photography tips will help you get amazingly cute photos. Getting on eye level with those sparkly black eyes is so important. This can be done by laying prone on your stomach. If there are chipmunks on your property, try building a simple ramp for them to scurry onto the deck railing. Having them move up to your eye level simplifies things. I can hear you saying this: “But they’re so little and faaaaast!” Fortunately, they’re also easily motivated by food, especially in the fall. ;-) Here are some helpful hints for your chipmunk photography and sample AzarÉl chipmunk photographs.
Get Down to Their Eye Level
One of the keys to AzarÉl wildlife photography is to get on eye-level with the subject being photographed. If you’re camping in the woods, that probably means lying flat on the ground. (Keep someone handy to pick you back up off the ground!) Aperture priority blurs the background and keeps the chipmunk in focus. Because of their diminutive stature, chipmunks also need to be in a relatively clear, grass free spot like a flat rock. They love sunflower seeds and peanuts. Place a pile of food in a spot where chipmunks travel that has a nice background. (Always be aware of the background!) Be still and give the chipmunks time. Photographs are especially captivating when you wait to snap until their cheeks are puffed to the max! They’re typically friendly creatures. As they get used to you, they’ll allow you to be closer. Always remember they are wild. Respect their space.

Lure Them Up to Your Eye Level
I’ve seen plenty of chipmunks when camping. It was a very happy day when I first spotted chippy on our deck. On the deck – that was the challenge. AzarÉl photography isn’t done at ground level. It’s done on a feeding platform on top of the deck railing. The feeding platform towered 36” above chippy’s head – about fourteen times his height. I’m about five feet, five inches tall; that’s like putting my dinner plate at the top of a seven-story building! How on earth was I going to get those chippies to move up to the eye-level of the camera? It was Brian to the rescue. (He’s too embarrassed to wear his super-hero cape in public; tights are not his style.) Brian created a two-inch wide, six-foot long ramp that hooked to the deck railing. There were notches about every four inches designed to hold sunflower seeds. As with everything I do, it was a waiting game until chippy discovered the trail. Seed trails (just like bread crumb trails in Hansel and Gretel) worked like a charm! Of course, now that chippy knew about the treasure trove of food above his head, he’d just shimmy up the pickets quick as a flash!
How to Build a Ramp for the Chipmunks
Do you want to try your hand at getting the chipmunks on top of your deck railing for photography? It’s pretty easy. Your completed project will resemble the photo above. Gather these materials:
Tools
….. Hand saw or table saw
….. Drill with metal bits
Materials
….. Screw
….. Small Hinge (optional)
….. A piece of bar steel
….. A long piece of lumber – Inexpensive wood lath should do the trick

.
.
.
Black oil sunflower seeds tend to slide off the ramp. Little notches keep the sunflower seeds in place and the chipmunks headed the right way. Shelled unsalted peanuts will also do the trick. (Peanuts in the shell will work, but it will take more time for chippy to reach the goal.)
.
.
.
.

.
.
.
Looking carefully at the very top, you’ll notice that the ramp levels off a bit. This just makes it easier for the chipmunks to get on the railing. Brian accomplished this using a hinge. Knowing the acrobatic abilities of chipmunks, this step might not be necessary. However, we like to make it as easy as possible on the chipmunks.
.
.
.

.
.
The top of the ramp is secured by a u-shaped metal piece. It wraps around the edge of the deck railing and the edge of the ramp. The metal is a piece of bar steel that’s available at Home Depot or Lowe’s. Brian placed it in a vice and shaped it by “beating on it with a hammer”. His words – not mine. ;-) A screw holds the metal piece to the ramp. Be sure to use a bit made for metal when drilling the hole.
.
.
Here’s another shot of the finished product and a view of the little deck where AzarÉl photography is done.

There are some details in the photo that might interest you:
Some of my AzarÉl Greetings photos are below. I’d love to see some of your chippy photos! Happy snapping!
Smiles!


Peanuty Smile: https://azarelgreetings.com/store/peanutty-smile/

Pumpkin Delights: https://azarelgreetings.com/store/pumpkin-delights/

Rainy Day ‘Sun’-brella: https://azarelgreetings.com/store/rainy-day-sun-brella/
See all the AzarÉl Greetings chipmunk photos here: https://azarelgreetings.com/store/?ec_search=chipmunk


Giclée Canvas print, 20” x 30”
Original Photography, printed and hand stretched by AzarÉl Greetings.
Click here to see how our canvas prints are made.
| 3000 Left in Stock | ||

Original Photography

Original Photography
Click here to see how our canvas prints are made.
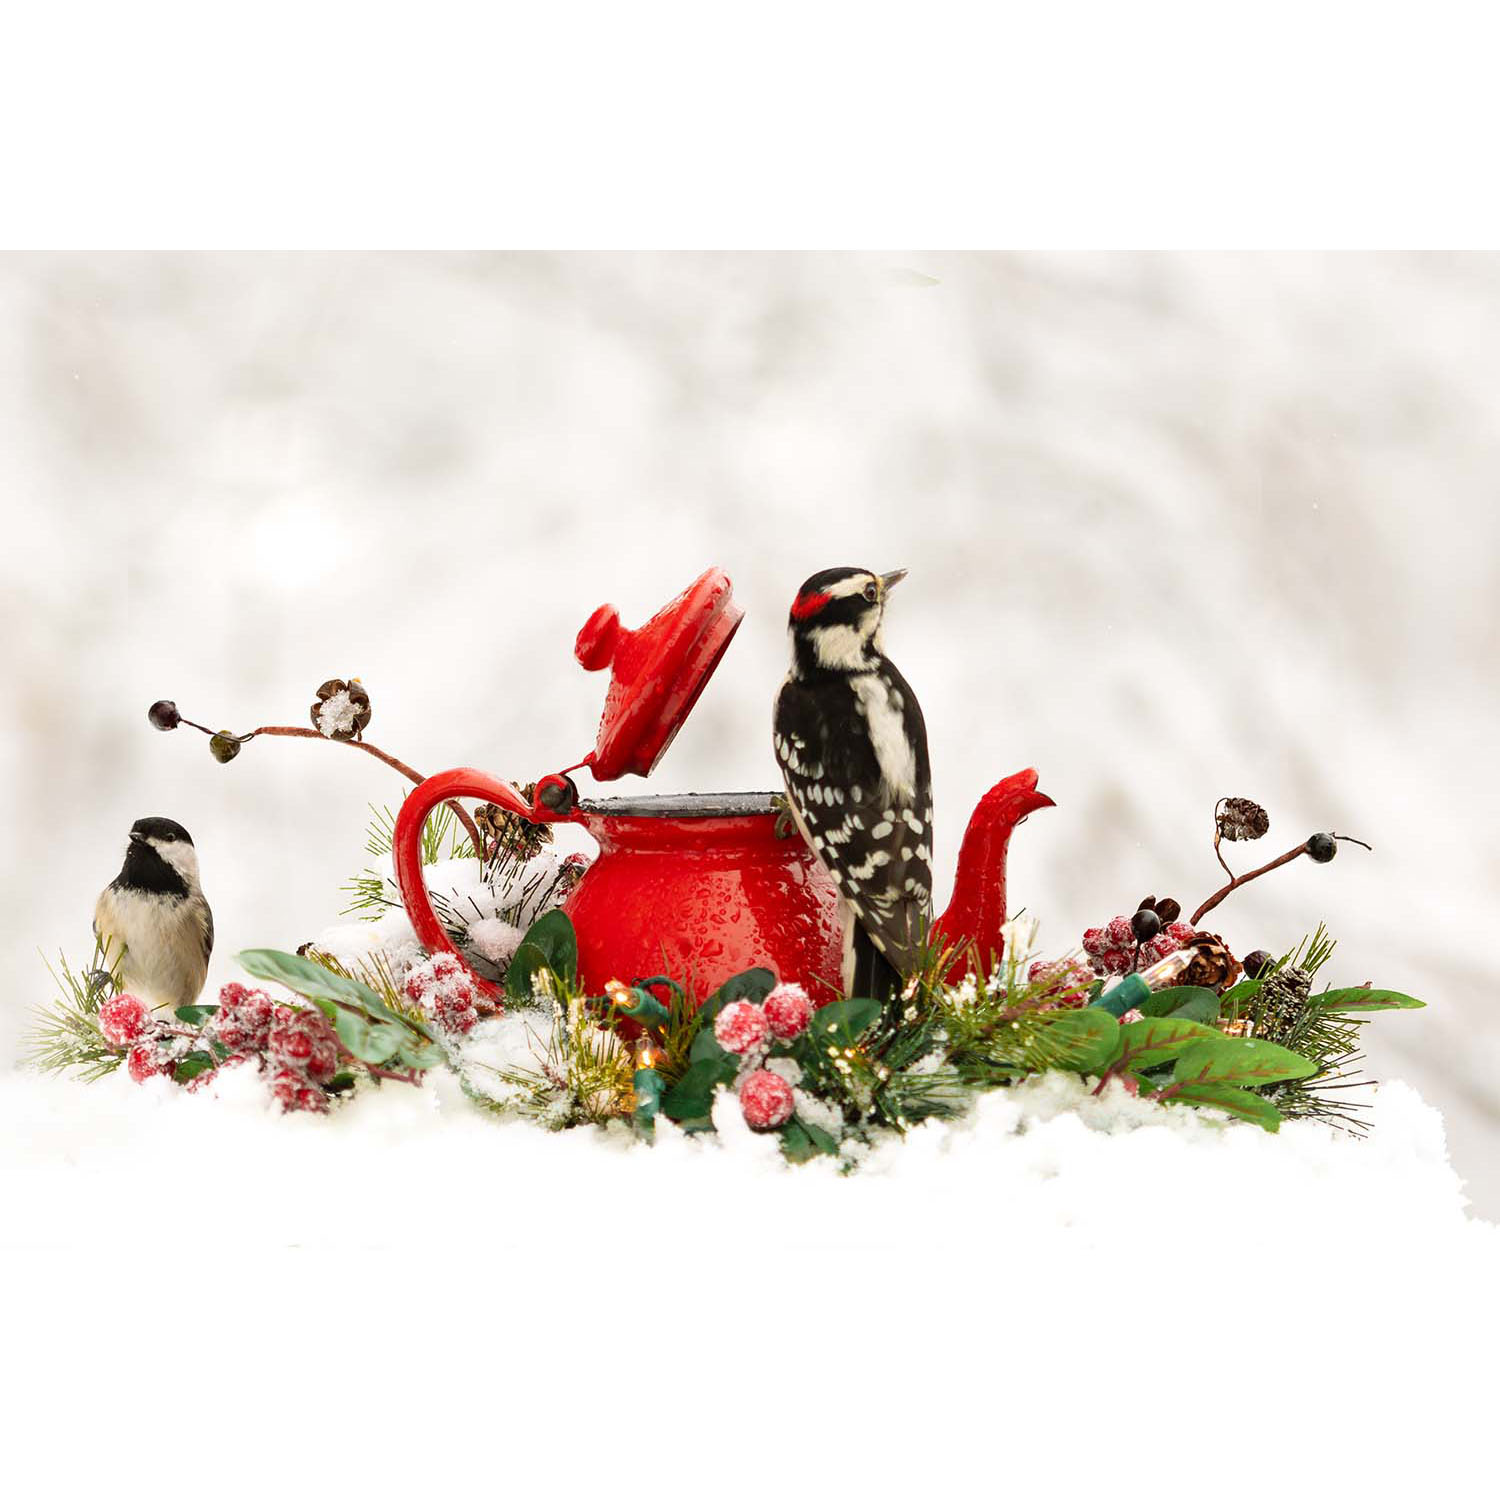
Giclée Canvas print, 16” x 24”
Original Photography, printed and hand stretched by AzarÉl Greetings.
Click here to see how our canvas prints are made.
| 3000 Left in Stock | ||
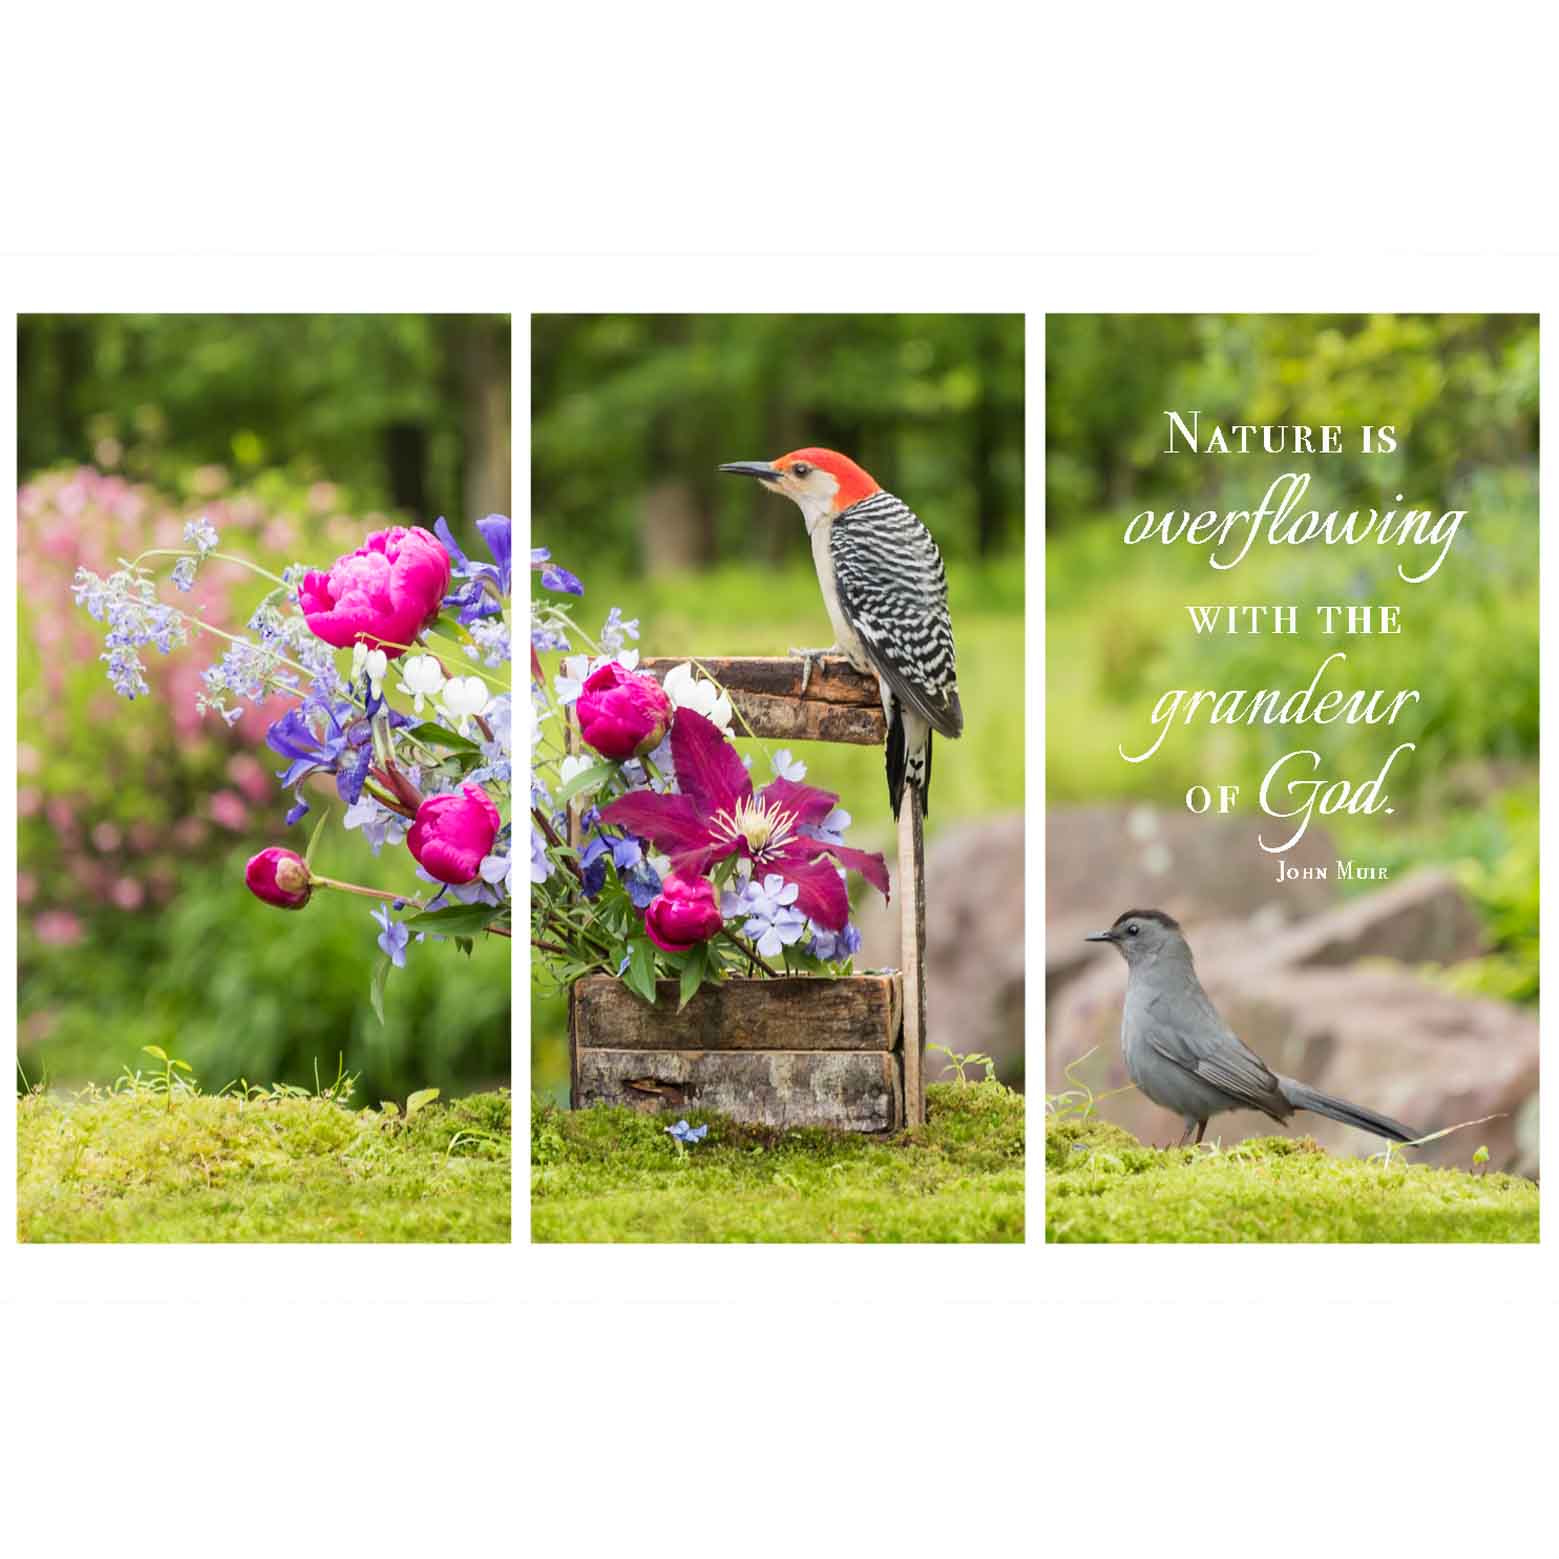
Giclée Canvas print, three panel triptych, 20" x 33" (w/ 3/4" gaps)
Original Photography, printed and hand stretched by AzarÉl Greetings.
| 3000 Left in Stock | ||

Giclée Canvas print, 20” x 30”
Original Photography, printed and hand stretched by AzarÉl Greetings.
Click here to see how our canvas prints are made.
| 3000 Left in Stock | ||
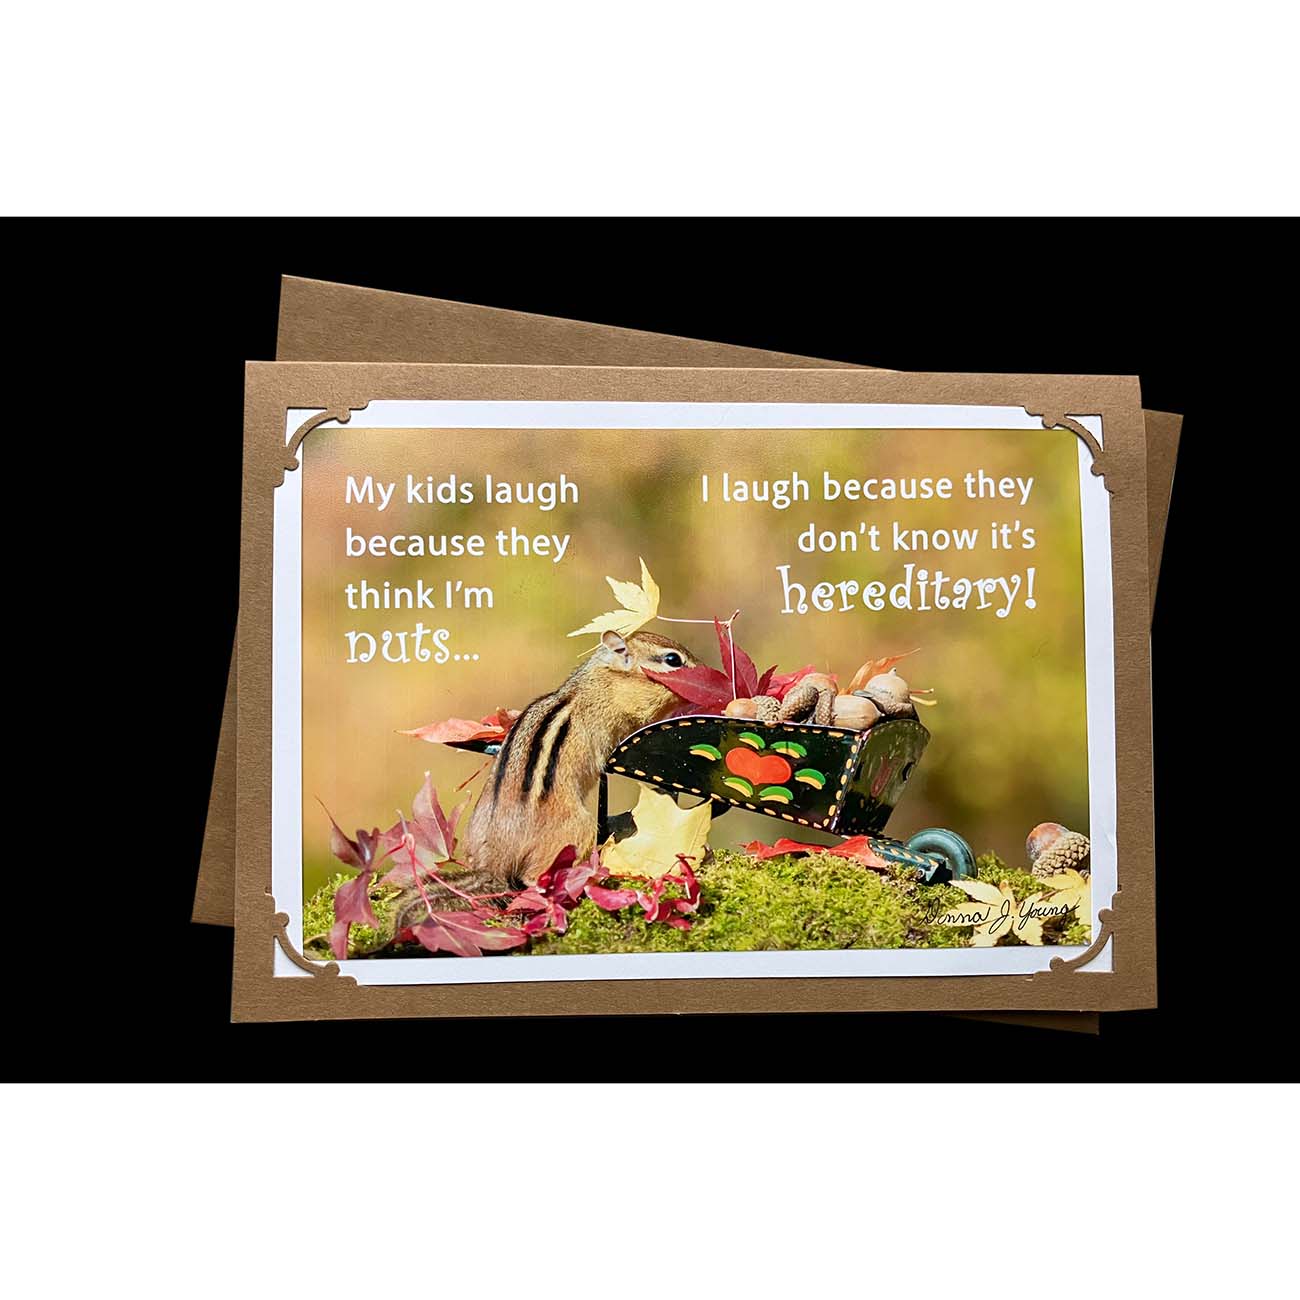
Original Photography
| 1000 Left in Stock | ||

Original Photography

Original Photography

Giclée Canvas print, 16” x 24”
Original Photography, printed and hand stretched by AzarÉl Greetings.
Click here to see how our canvas prints are made.
| 3000 Left in Stock | ||
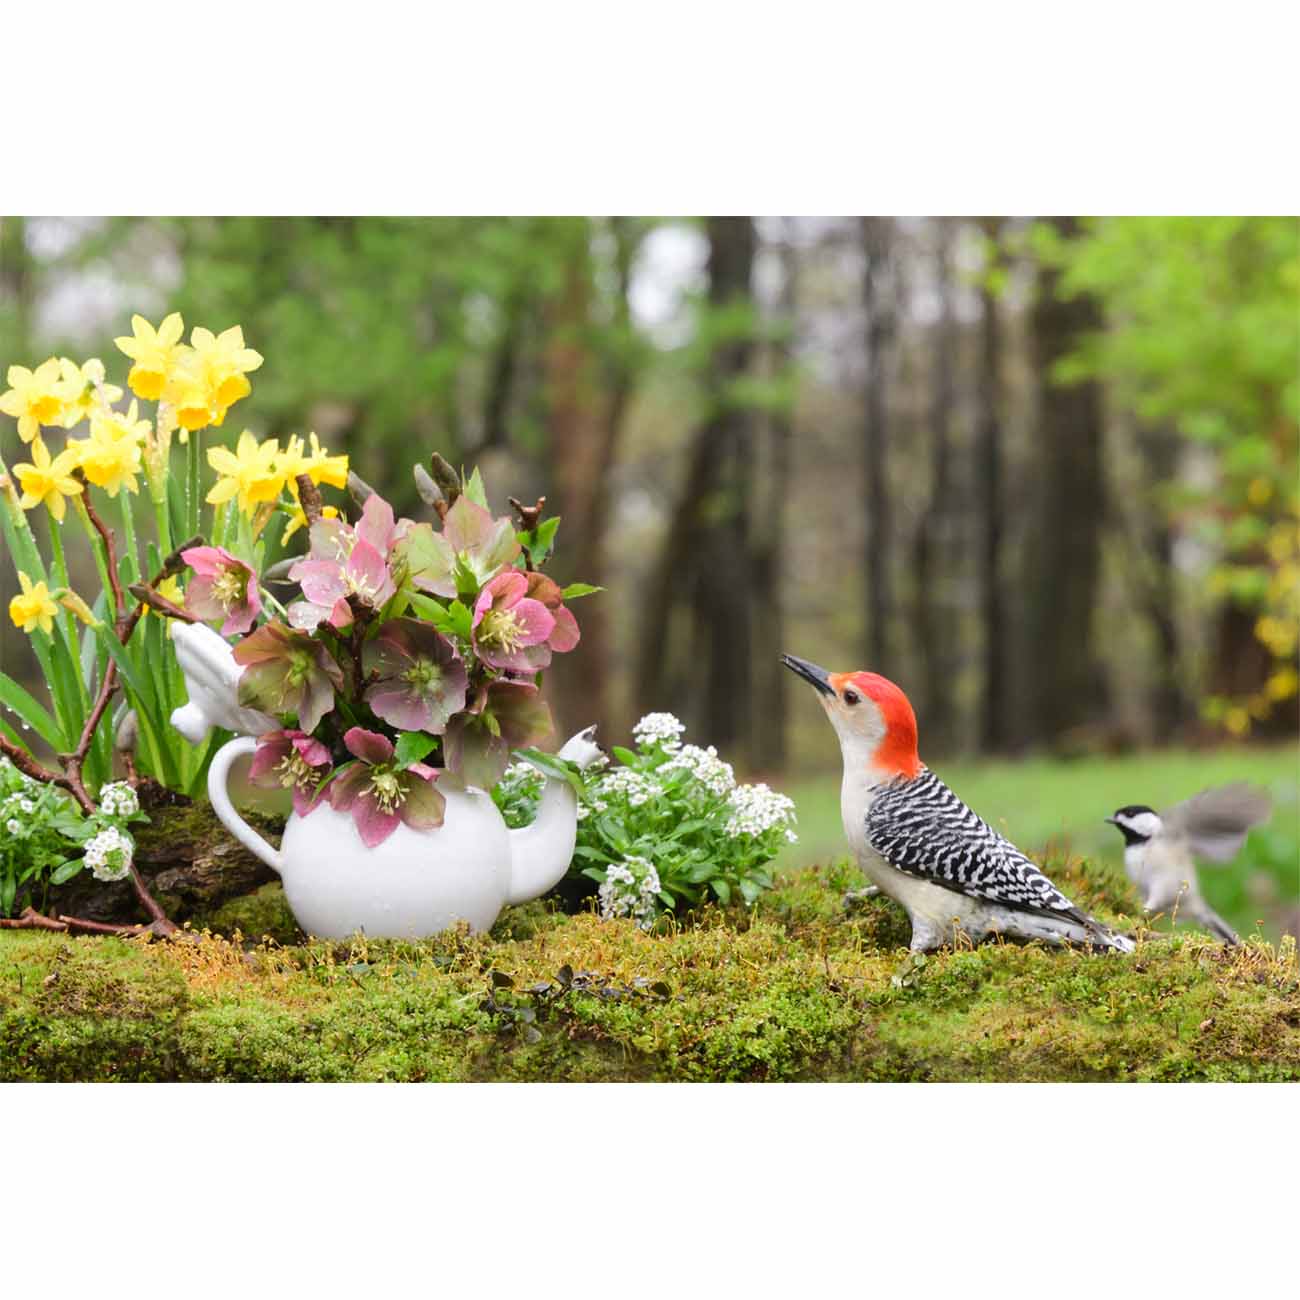
Giclée Canvas print, 16” x 24”
Original Photography, printed and hand stretched by AzarÉl Greetings.
Click here to see how our canvas prints are made.
| 3000 Left in Stock | ||

Original Photography

Giclée Canvas print, 16” x 24”
Original Photography, printed and hand stretched by AzarÉl Greetings.
Click here to see how our canvas prints are made.
| 3000 Left in Stock | ||

Giclée Canvas print, three panel triptych, 20" x 33" (w/ 3/4" gaps)
Original Photography, printed and hand stretched by AzarÉl Greetings.
| 3000 Left in Stock | ||

Giclée Canvas print, 20” x 30”
Click here to see how our canvas prints are made.
| 1000 Left in Stock | ||