


Ready to dive into the details of adding a camera and audio-visual to our existing bluebird box? In this post, Brian walks you through every step of our installation process. To help you navigate, here’s a quick rundown of what we’ll cover, so you can jump to the section that interests you most:
While we’re focusing on the Green-Backyard.com model, we’re confident you’ll find plenty of useful tips here even if you’re working with a different brand. Let’s get started!
Now, let’s be real – there are definitely simpler and faster ways than ours to get a camera into a nest box. For starters, you could just snag a nest box that already has a camera designed to fit right inside. Sure, you’ll still have some assembly, but you can skip messing with an existing birdhouse. And if you’re not keen on running wires for audio and video, there are setups with Wi-Fi antennas – some for shorter distances, others for longer range. Got a bigger yard? Some bird box kits even come with wireless repeaters – those clever gadgets that grab your existing Wi-Fi and boost it, helping to get rid of those annoying dead spots. Of course, you’ll still need to power it. Maybe you’re lucky enough to have an outdoor outlet. If not, there are also solar-powered and battery options to consider. Definitely worth looking into the pluses and minuses of each before you decide!
1 UNBOXING
Below: Our bird box camera showed up right on schedule. The box itself was in perfect shape, not a scratch on it. Gotta hand it to Green-Backyard.com, they really wrapped everything up nicely – super protected. The arrival of the package sparked immediate excitement. Brian wasted no time in unpacking the contents.

Here are a few of the tools Brian utilized to complete the birdhouse remodel, a testament to his well-stocked workshop. Notably, the 1/8″ plastic-coated wire rope for the support wire and the heavy-duty clear plastic for the eaves of the birdhouse weren’t part of the original kit. When outlining your own installation, remember to consider and list supplementary items such as eye bolts.
2 SUPPORT WIRE SETUP

To prepare for the installation, Brian first established a robust support system by stringing a 1/8″ vinyl-coated wire rope between the bluebird house and the residence. (Brian purchased ours at a nearby Lowe’s.) This wire rope was specifically intended to bear any potential tension, ensuring that the PoE (Power over Ethernet) cable would not be subjected to undue stress.

Brian’s method for securing the support cable to the house involved a few key steps. First, he drilled a pilot hole into the mortar, into which he then inserted a lead anchor. Finally, the eye bolt was screwed into this anchor point. The image accompanying this description illustrates the components used in this process: a U-bolt saddle, three wire rope clamps, and the vinyl-coated wire rope itself.

The accompanying image illustrates the support wire’s path, extending from its attachment point on the birdhouse in the foreground towards our residence. At the birdhouse, the vinyl-coated wire rope is secured by being wrapped around the mounting pole and fastened with three clamps. It’s important to note that the wire rope should not be excessively taut; a slight slack is necessary, similar to the natural sag observed in telephone wires strung between poles.
3 BLUEBIRDBOX PREP
BELOW: To make things easier, Brian first detached the birdhouse and brought it inside. Then, using the included ethernet cables and the POE power injector, he temporarily hooked up the camera to our home network. This let him play around with the camera’s position inside the bluebird box to find the sweet spot for the best view. Turns out, mounting it on the inside roof gave us a perfectly clear picture.
As you can see in the video below, Brian took a look at all the bits and pieces for mounting the camera. That includes the mounting bracket itself, the screws specifically for attaching the camera to the bracket, the screws for attaching the bracket to the birdhouse, and some handy cable tie-downs.
Installing the camera required access to the inside of the birdhouse, so the roof had to come off. As shown in the video below, this involved unscrewing several fasteners.
Below you can see the bluebird box with its roof detached. Brian carefully marked the inside of the roof to ensure that when the camera was positioned inside, there would be no collision with the roof upon reassembly.


To accommodate the camera’s connectors, Brian needed to widen one of the existing ventilation holes in the bluebird nest box. In the image, Brian is carefully selecting the appropriate drill bit for this task.
Below: To enlarge the existing hole cleanly and accurately, a template was essential to prevent the drill bit from “walking.” Brian fashioned a template by drilling a hole in a piece of wood. This template was then clamped firmly over the original ventilation hole, acting as a guide during the enlargement process. Now, with the hole appropriately sized, the camera wires can pass through it with ease.


Attach the mounting bracket to the camera using the screws provided.
As illustrated below, position the camera within the bluebird box, ensuring it’s situated below the roofline marking you previously made. Once the camera is in the desired location, mark the points where the mounting screws will go. Next, drill small pilot holes at these marked spots. Finally, secure the camera in place using the appropriate screws.


Here’s how the camera looks once it’s installed inside the bluebird box. You can see it’s oriented to capture the view of the box’s floor. Also, take note of the wire tie positioned near the wire access hole.
We’re in the home stretch of this bird box makeover! In the photos below, the roof is put back on and the camera gets one last check to make sure everything looks good.


Here’s how Brian neatly organized and secured the wiring on the exterior of the bird box. He utilized plumbing clamps, also known as U-strap or pipe tube conduit steel hangers, to hold the wires in place. Additionally, zip ties were employed to keep any excess wire neatly coiled. He definitely has a knack for making wiring look clean and organized!

There was a real feeling of accomplishment when we finally got our bluebird box back up outside! We were absolutely thrilled – ecstatic even – to have it all set up.
4 WIRING IT ALL UP
Below is an illustration detailing the audio-visual connections on the outside of the birdhouse, complete with thoughtful finishing touches.

Up until this point, the support wire and ethernet cable were running parallel to each other. As you can see in the image below, Brian then neatly bundled them together using a 3/8 inch black polyethylene spiral cable wrap.

5 HOUSE WIRING
Pictured below are some of Brian’s wiring techniques designed to prevent wear and tear over time.
1. A zip tie securely fastens the data cable to the support wire.
2. A cable clamp firmly attaches the data cable to the soffit. The loop created between these two points is intentional, ensuring that any tension or stress is absorbed by the sturdy wire rope, not the more delicate data cable.
3. Observe the gentle curve of the data cable – avoid making sharp, tight bends when routing wires around corners.
4. A rubber grommet is used to protect the wire from rubbing against the sharp metal edge of the soffit, preventing potential damage to the cable’s insulation.


Hopefully, your connection adventure won’t involve spelunking in a crawl space quite like ours! Brian had to channel his inner tightrope walker, carefully stepping only on the beams to avoid an unexpected (and messy) drop through the dining room ceiling. Trying to contort yourself into a pretzel while hunting for a rogue wire is a special kind of fun, let me tell you. And as Brian eloquently put it, “Don’t get old.” His attic adventures left a telltale trail of insulation up and down the steps.
There’s a certain “I wrestled a cable and won” feeling after all that fishing and tacking to get the ethernet where it needed to go. Brian even documented his wiring escapades for future generations to marvel at – you can see the whole saga unfold in the video below!

These snapshots mark the finish line of this epic wiring quest. You can see the black data cable making its way to the power injector, and then a gray wire connecting the injector to our trusty LAN router. There’s also a close-up shot of the wall plate, showing where the data cable plugs into the back – proof Brian actually made it work!
So, there you have it – the thrilling, edge-of-your-seat account of turning a humble birdhouse into a high-tech avian surveillance center. We hope you’ve learned some helpful nuggets from our story. Just remember, while the allure of live-streaming bluebird family drama is strong, choose a project within your skillset (or, you know, the patience level of your favorite handy person). Ultimately, it’s the sheer amazement of watching the bluebirds build their nest that makes it all worthwhile – a captivating process you can experience in our 35-minute day one compilation on YouTube at /AzarElGreetings.

If the idea of a nest box camera has captured your imagination, you’re sure to adore our featured image, “Home Sweet Home,” a charming shot of momma and poppa bluebird admiring a rustic dwelling right here on our property from years past. Beyond this sweet scene, I (Donna) also enjoy crafting little interactive setups for our bluebird visitors, complete with a few secret snacks! (Live mealworms – Yum!) Discover bluebird photography unlike anything you’ve seen before, right here. A visit to AzarElGreetings.com is sure to fill your heart with the delightful twitter of birdsong!


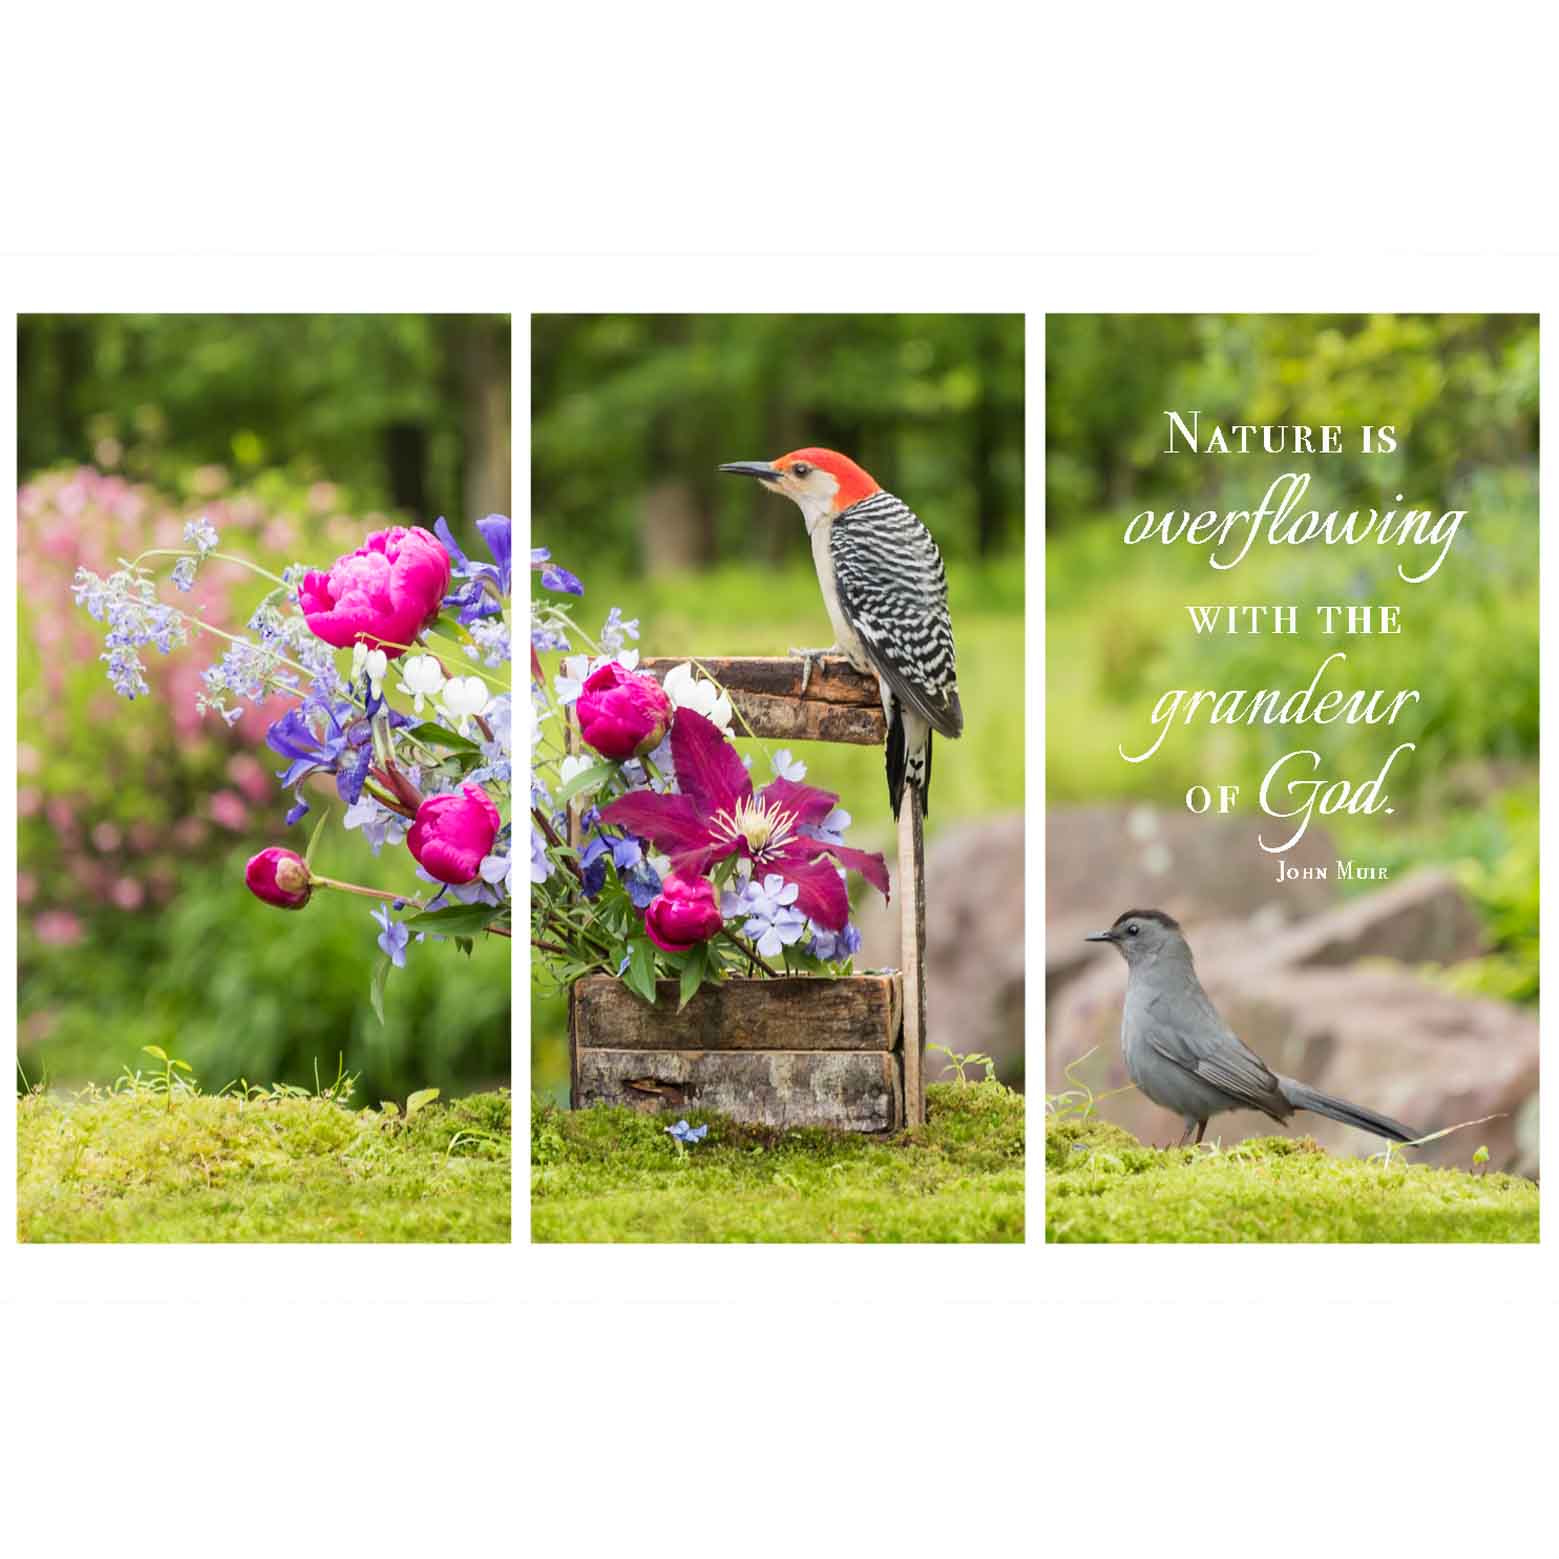
Giclée Canvas print, three panel triptych, 30" x 49 1/2" (w/ 3/4" gaps)
Original Photography, printed and hand stretched by AzarÉl Greetings.
| 2999 Left in Stock | ||

Original Photography
| 1000 Left in Stock | ||

Giclée Canvas print, 20” x 30”
Original Photography, printed and hand stretched by AzarÉl Greetings.
Click here to see how our canvas prints are made.
| 1000 Left in Stock | ||


Original Photography

Giclée Canvas print, three panel triptych, 20" x 33" (w/ 3/4" gaps)
Original Photography, printed and hand stretched by AzarÉl Greetings.
| 3000 Left in Stock | ||

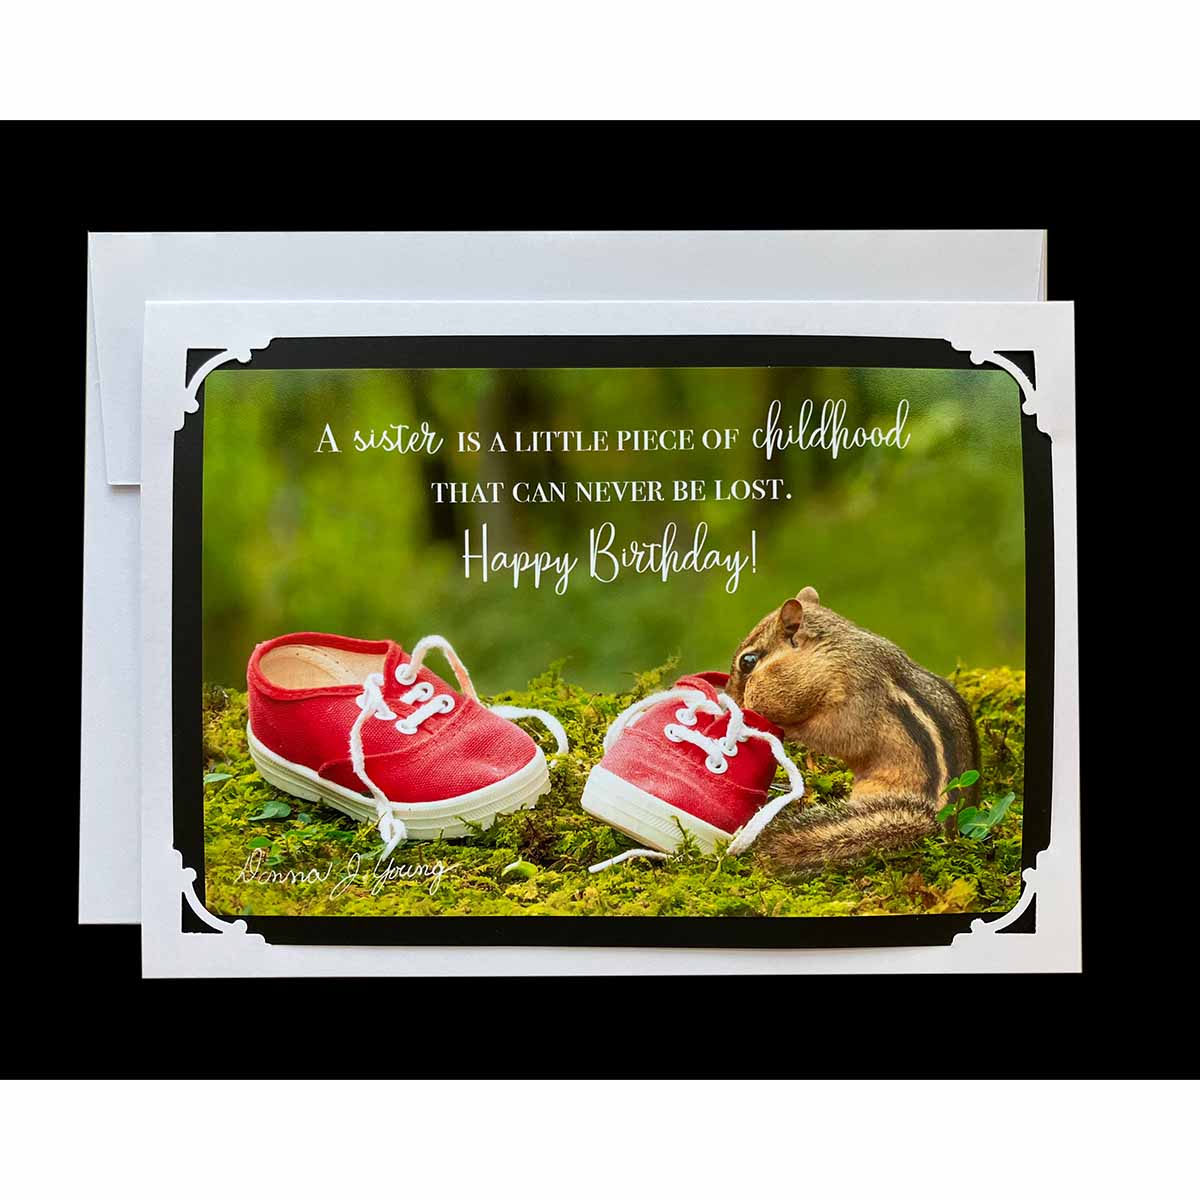
Original Photography
| 1000 Left in Stock | ||

Original Photography


Original Photography
Click here to see how our canvas prints are made.
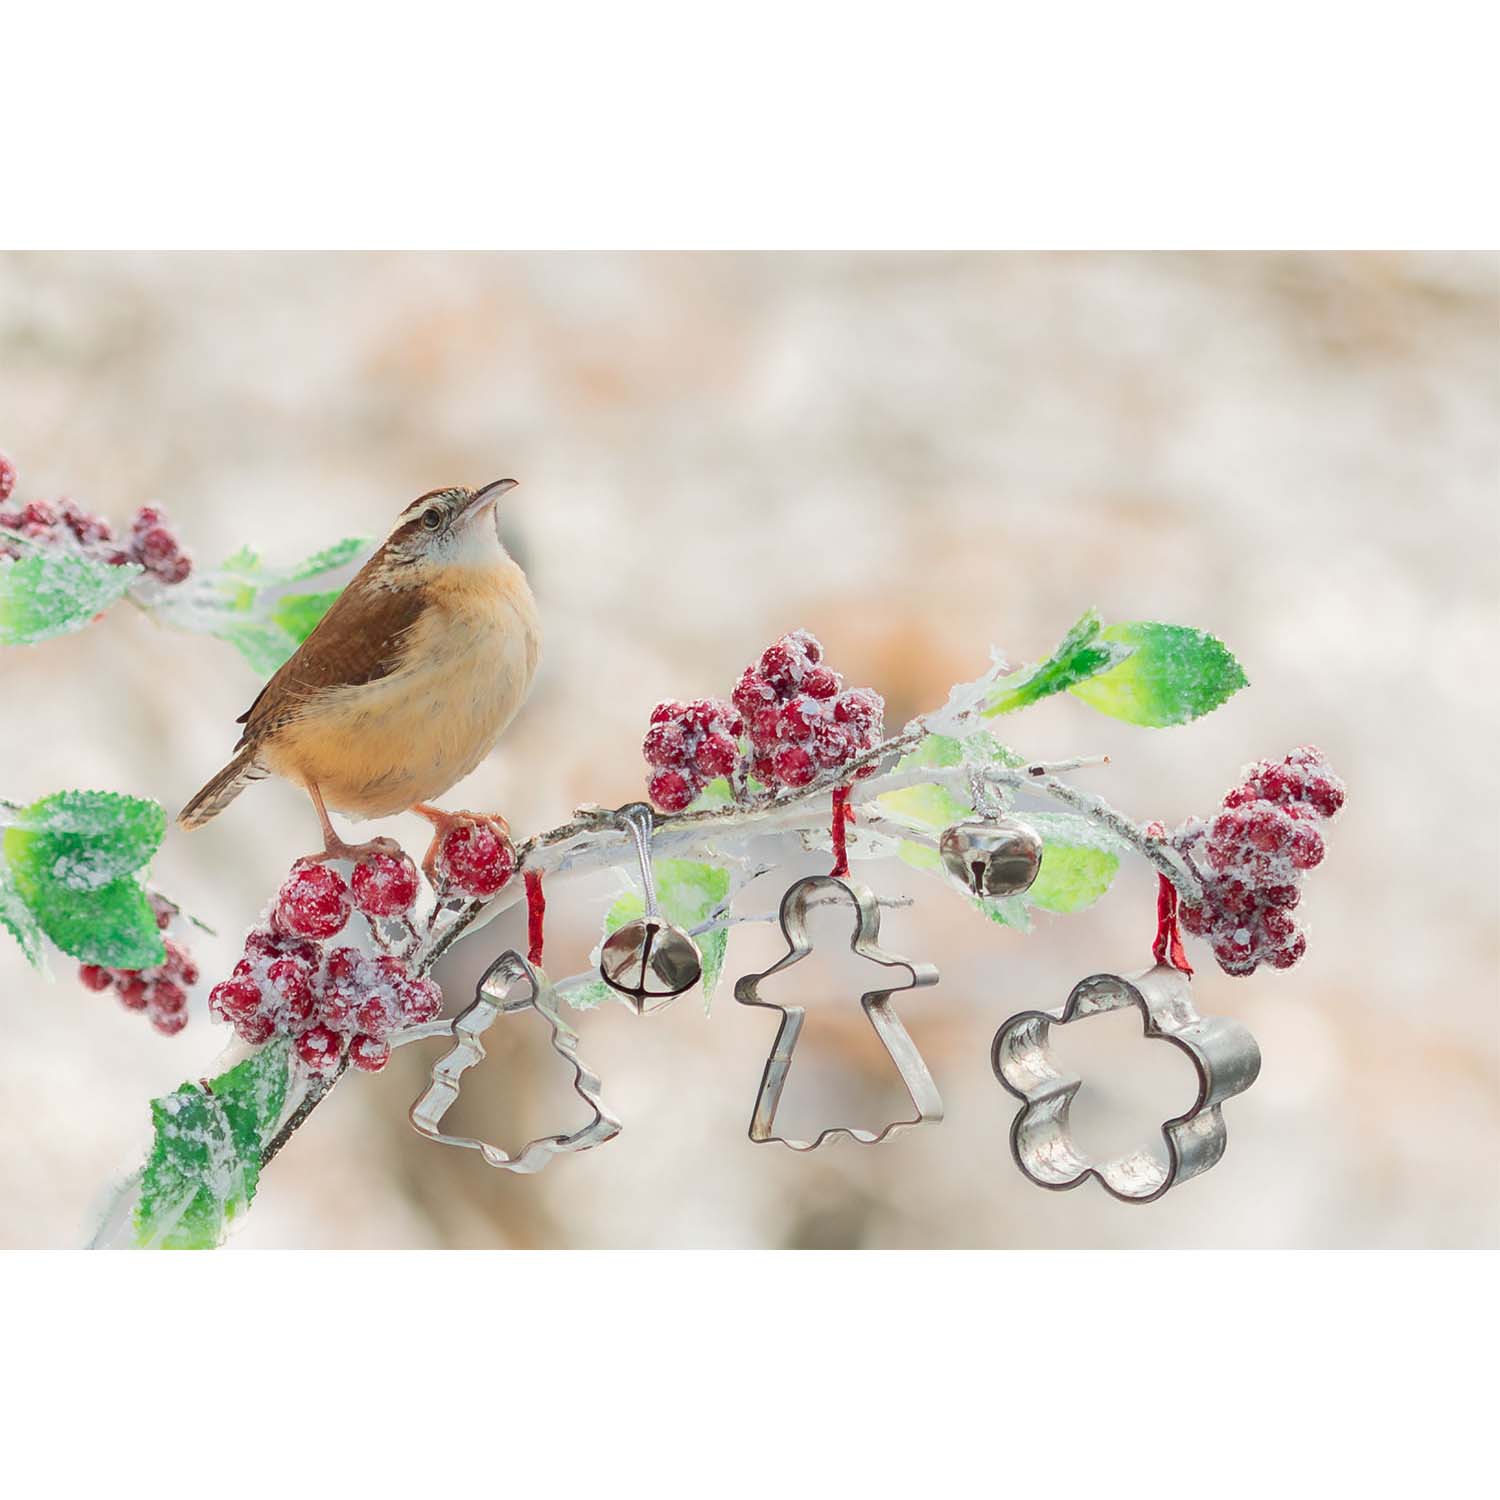
Giclée Canvas print, 16” x 24”
Original Photography, printed and hand stretched by AzarÉl Greetings.
Click here to see how our canvas prints are made.
| 3000 Left in Stock | ||

Giclée Canvas print, 16” x 20”
Original Photography, printed and hand stretched by AzarÉl Greetings.
Click here to see how our canvas prints are made.
| 1000 Left in Stock | ||

Giclée Canvas print, 16” x 24”
Original Photography, printed and hand stretched by AzarÉl Greetings.
Click here to see how our canvas prints are made.
| 1000 Left in Stock | ||

Original Photography